
Thermostat Installation in Rowland Heights, CA

This page provides a comprehensive guide to thermostat installation in Rowland Heights, CA. It explains thermostat types (manual, programmable, smart), compatibility checks for HVAC equipment and wiring, and a detailed step-by-step installation process from initial assessment to commissioning. It also covers user setup, warranty considerations, pricing factors, selecting the best thermostat for comfort and energy savings, and maintenance tips to sustain performance. The content emphasizes local climate, efficient operation, and preparing for a professional installation.
Thermostat Installation in Rowland Heights, CA
Keeping your home comfortable and energy efficient in Rowland Heights, CA starts with the right thermostat and a proper installation. With hot summers, strong sun exposure, and variable daytime temperatures, many homes in this area run air conditioning heavily. That makes thermostat selection and professional installation especially important to avoid uneven cooling, wasted energy, and frustration with complex controls. Below is a clear, expert overview of thermostat types, compatibility checks, the professional installation process, user setup, warranty considerations, pricing factors, and how to choose the best thermostat for comfort and savings in Rowland Heights homes.
Types of thermostats and which fit Rowland Heights homes
- Manual thermostats
- Pros: simple, low cost, straightforward controls.
- Cons: no scheduling or remote access, limited energy savings.
- Best for: basic systems or short-term solutions where simplicity is preferred.
- Programmable thermostats (5-2, 5-1-1, 7-day)
- Pros: schedule-based temperature control to reduce runtime, improves consistency.
- Cons: requires setup and occasional adjustments; fewer remote features than smart models.
- Best for: homeowners who want automated schedules without smartphone integration.
- Smart and smart-ready thermostats
- Pros: remote control via phone, learning or adaptive scheduling, geofencing, integration with voice assistants, remote sensors for multi-room comfort. Can deliver meaningful energy reductions when configured correctly.
- Cons: require Wi-Fi (usually 2.4 GHz), may need a common (C) wire or adapter, higher upfront cost.
- Best for: Rowland Heights households with heavy AC use, variable occupancy, or multi-level homes where upstairs rooms run hotter.
Compatibility checks: HVAC equipment and wiring
Before installation, a technician will confirm compatibility with your HVAC system. Key items checked:
- Voltage type: most residential systems use low-voltage 24V controls. Line-voltage systems (baseboard electric) and millivolt systems need specialized thermostats.
- Common wiring labels: R/Rc/Rh (power), C (common), W (heat), Y (cool/compressor), G (fan), O/B (heat pump reversing valve), Aux/E (emergency heat), and S1/S2 (sensors). Proper labeling and testing are essential.
- C-wire presence: many smart thermostats need a C-wire for continuous power. If absent, options include installing a C-wire, using a power extender kit, or choosing a thermostat compatible with battery or low-power operation.
- Heat pumps and multi-stage systems: ensure the thermostat supports heat pump configurations, including O/B control and auxiliary heat stages.
- Zoning systems and multiple thermostats: compatibility with zone control boards and dampers must be verified.
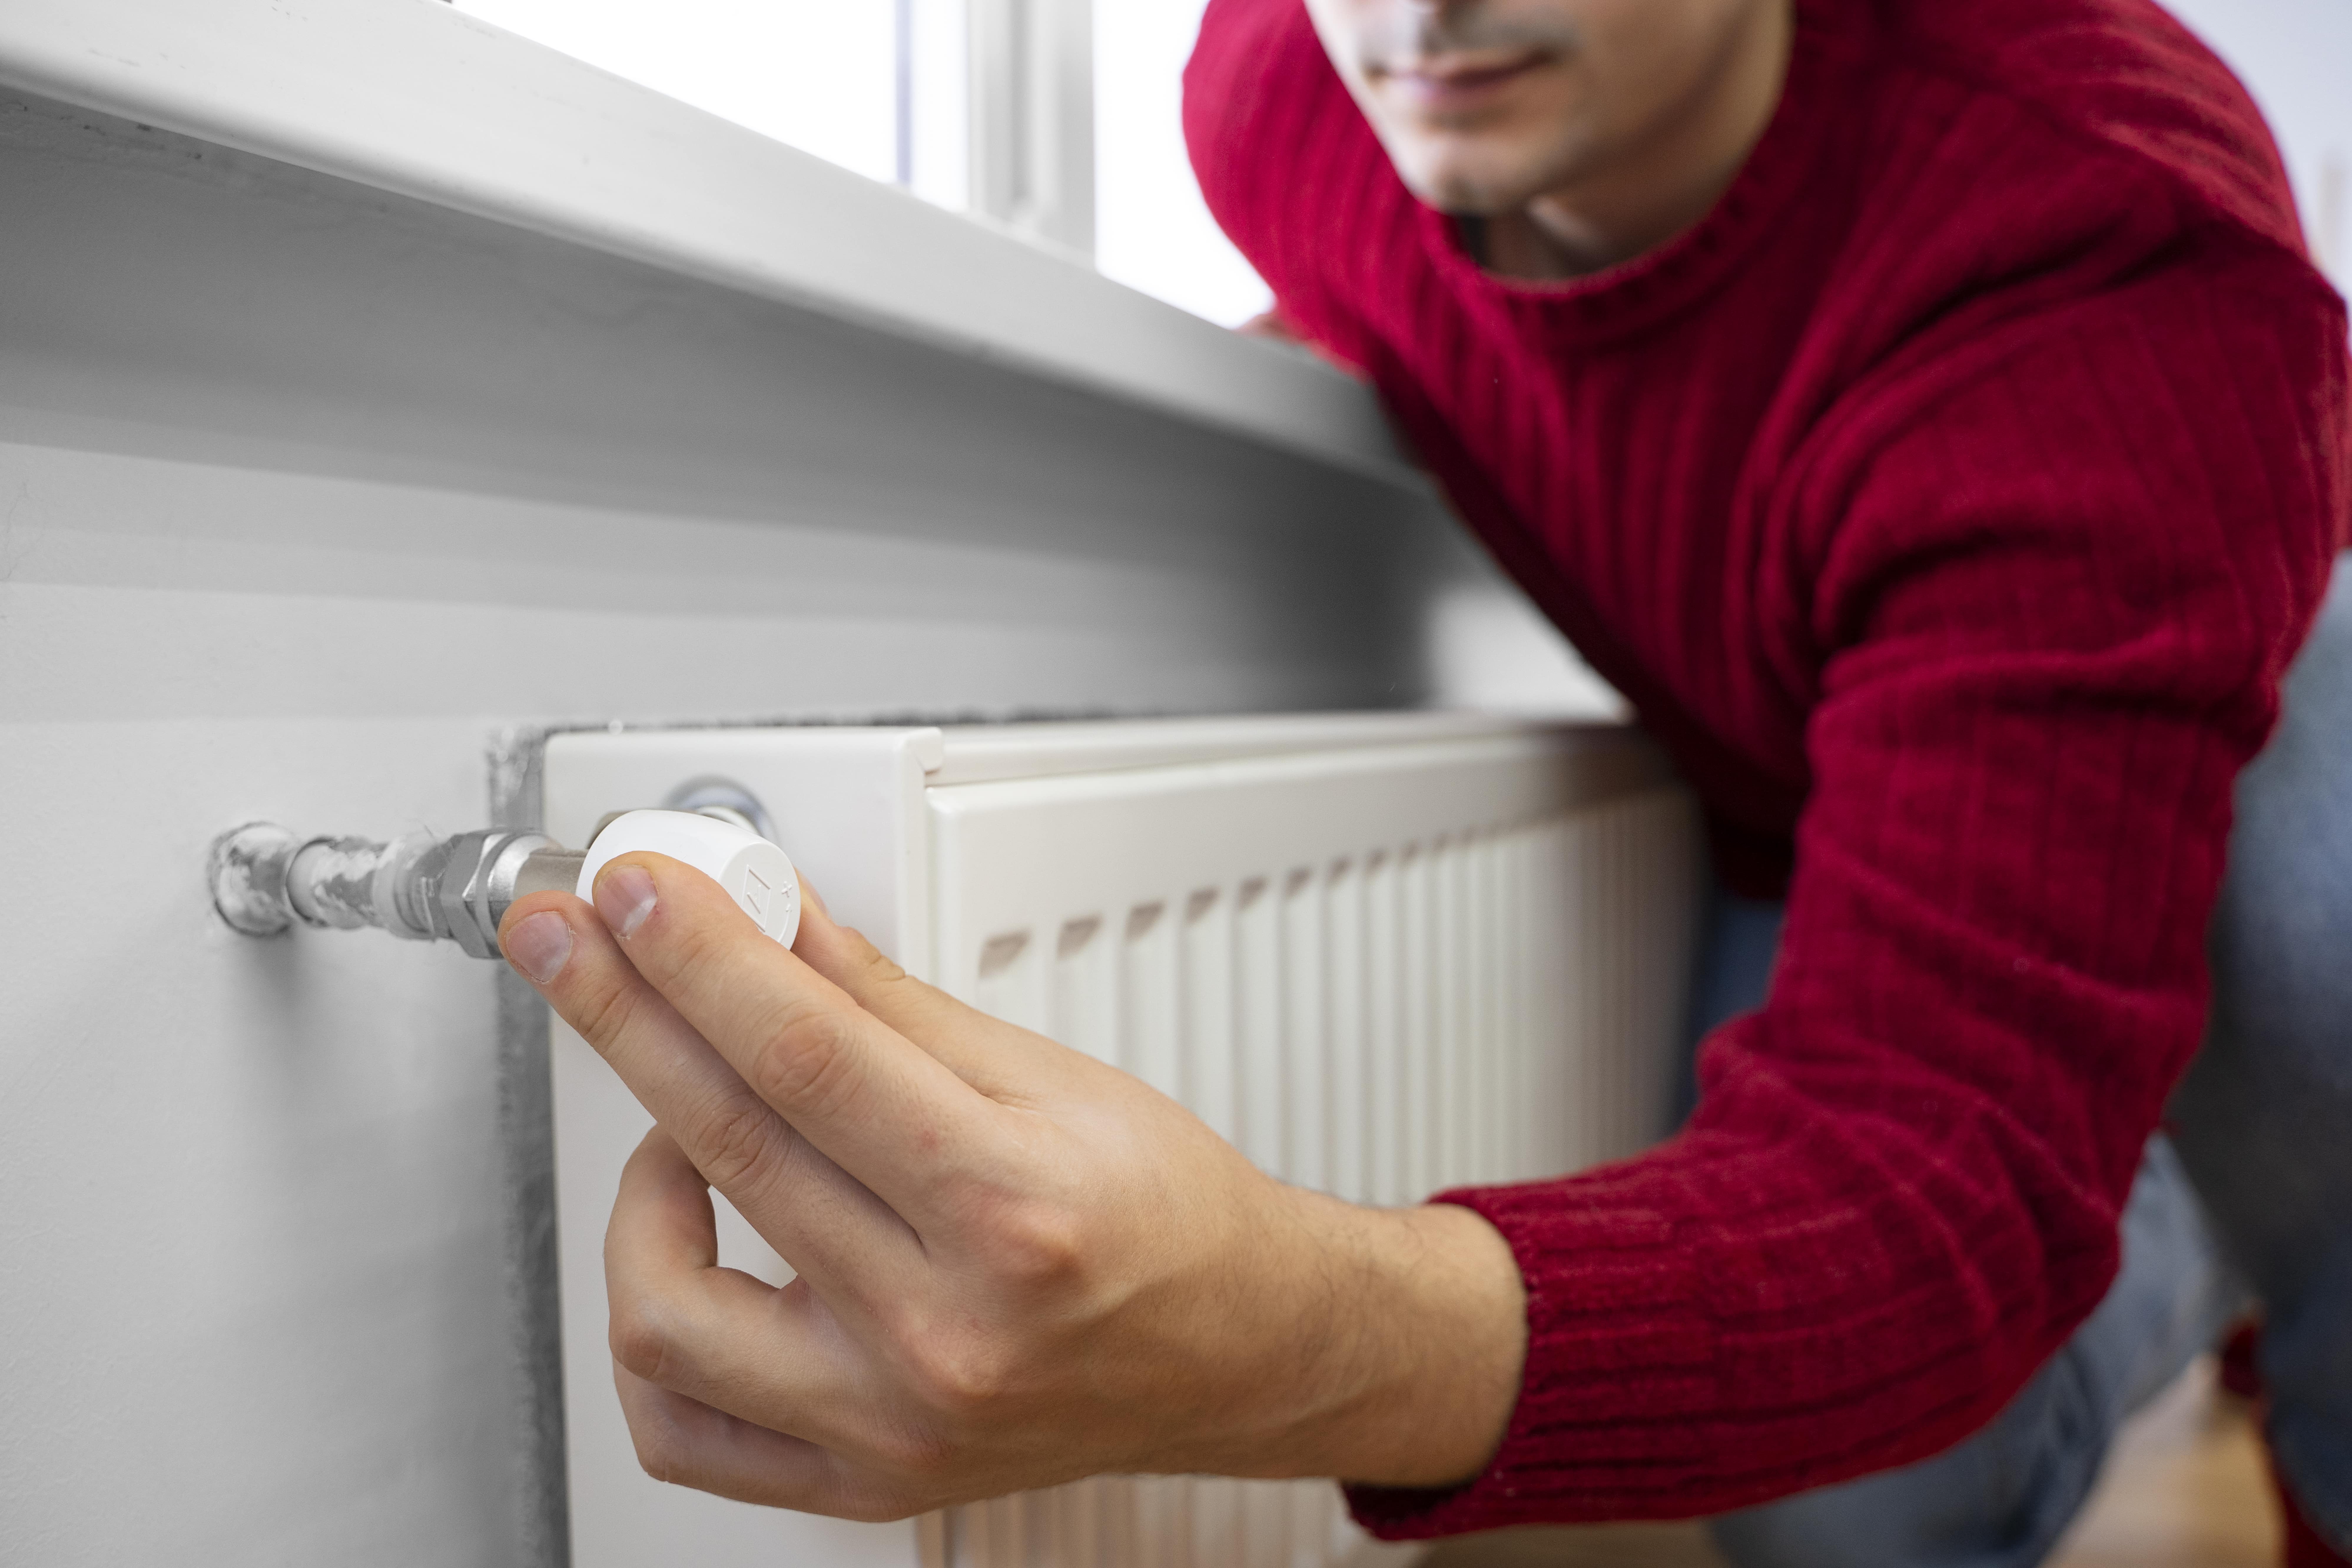
Professional thermostat installation: step-by-step
- Initial assessment
- Confirm system type, wiring, breaker locations, and best thermostat placement relative to sun exposure and interior airflow.
- Power off and safety checks
- Turn off HVAC power at the breaker or system switch and verify safe working conditions.
- Remove and label existing wiring
- Carefully remove the old thermostat and label each wire to prevent connection errors.
- Verify control voltages and wire integrity
- Test for 24V presence and continuity. Identify need for a C-wire or adapter.
- Mounting and wiring the new thermostat
- Secure the new base to a flat, interior wall away from direct sunlight, doors, and vents. Connect wires according to the labeled terminals and manufacturer guidelines.
- Configure system type and settings
- Set air conditioner vs heat pump, stage counts, fan control, and any zone settings.
- Restore power and commissioning
- Power up the equipment and run heating and cooling cycles to confirm correct operation of stages, reversing valves, and fan control.
- User setup and walkthrough
- Connect Wi-Fi if applicable, add thermostats to user accounts, demonstrate scheduling, geofencing, and sensor placement, and show how to make manual and app-based adjustments.
- Final testing and documentation
- Confirm stable operation across modes, leave installation notes, and advise on warranties and record keeping.
Typical professional visits for a straightforward replacement take about 60 to 90 minutes. Systems requiring wiring upgrades, C-wire installation, or complex zoning may take longer.
User setup and programming tips for comfort and savings
- Use schedule features to match actual occupancy patterns. In a cooling-dominant climate like Rowland Heights, raising the setpoint when the home is empty and lowering it before occupants return saves energy without compromising comfort.
- For programmable models, prefer a 7-day schedule if weekday and weekend patterns differ.
- Smart features to consider: adaptive learning, remote sensors (helpful for multi-level homes), geofencing for automatic away/home transitions, and integration with voice assistants.
- Wi-Fi considerations: many smart thermostats require a stable 2.4 GHz network and the home network password during setup.
- Avoid mounting the thermostat on sun-exposed exterior walls or near vents; interior north or east-facing walls generally yield the most accurate ambient readings.
- Keep firmware updated to benefit from performance improvements and new features.
Warranty, registration, and transfer
- Manufacturer warranties vary but commonly cover defects for a limited period, often between one and five years. Check specific product documentation for exact terms.
- Professional installation often supports warranty validation, so keep proof of installation and purchase records. Some warranties require product registration with the manufacturer.
- Warranty transferability depends on the manufacturer and specific terms; many limited warranties apply to the product regardless of owner, while some service-related guarantees may be tied to the original installation.
Pricing factors and what to expect during an appointment
Factors that influence total cost and time:
- Thermostat model and feature set (basic, programmable, smart).
- Need for added materials: C-wire installation, power extender kits, longer wire runs, or a new sub-base.
- Complexity of the HVAC system: heat pumps, multi-stage systems, or zoning controls add installation steps.
- Accessibility and condition of existing wiring and control panels.
What a homeowner should prepare before the visit:
- Ensure clear access to the thermostat and HVAC equipment.
- Have Wi-Fi password available if the device will connect to the network.
- Locate any HVAC manuals or model numbers, if available.
- Note desired schedule preferences or smart features to be configured.
Choosing the best thermostat for Rowland Heights homes
- If energy savings and remote control are priorities, a smart thermostat with remote sensors is typically the best fit for Rowland Heights because it helps manage heavy AC loads and addresses temperature variations across floors.
- If your system is a heat pump or multi-stage unit, select a thermostat explicitly supporting those configurations.
- For simple needs or rental properties, a programmable or reliable manual thermostat may be sufficient.
- Factor in wiring requirements up front; choosing a model that matches your existing wiring saves time and additional parts.
- Check with local utility or municipal programs for available energy rebates or incentives that can affect the net cost of upgrading to a high-efficiency smart thermostat.
Maintenance and long-term tips
- Replace thermostat batteries annually if applicable and keep firmware current on smart devices.
- Re-check schedules seasonally to match changing occupancy and temperature preferences.
- Monitor system operation after major firmware updates or HVAC service to ensure settings remain optimal.
This information outlines what to expect when selecting and installing a thermostat in Rowland Heights, CA. A proper compatibility check, careful installation, and thoughtful programming deliver improved comfort and meaningful energy savings given the local climate and typical home usage patterns.
Customer
Testimonials
Our customers consistently praise the exceptional service and professionalism of our team. They appreciate the honest advice, meticulous work, and the care taken to ensure their satisfaction.

.webp)
Service Areas
