
Thermostat Repair in Studio City, CA

Comprehensive thermostat repair guidance for Studio City, CA homeowners covers why accurate temperature control matters, common failure modes, and systematic diagnostics. The page outlines typical repairs, parts replacements, and realistic turnaround times, from battery changes to full thermostat upgrades. It also provides practical troubleshooting steps for homeowners and preventive maintenance tips to reduce future outages. Emphasis is placed on reliable diagnostics, safe wiring, energy efficiency, and timely professional service to restore comfort and control in warm California homes.
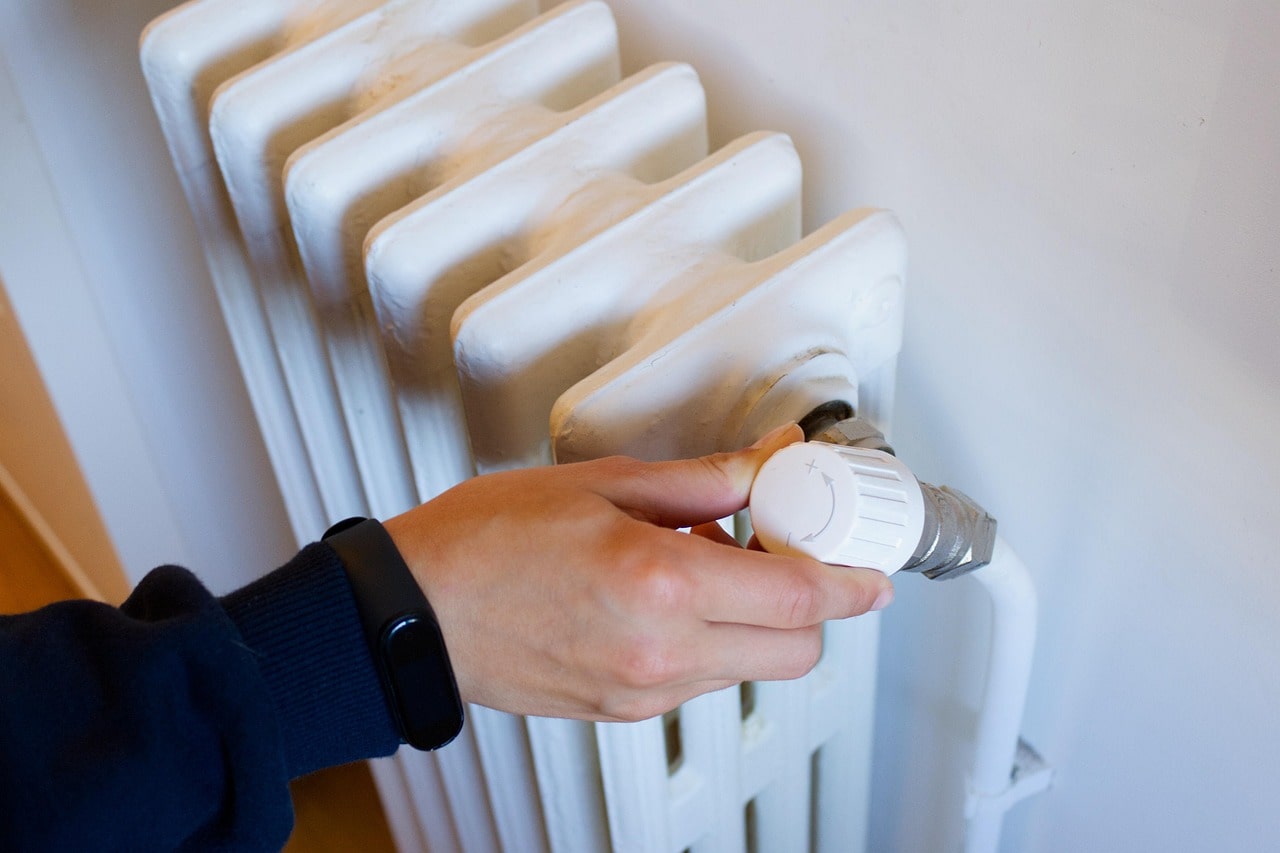
Thermostat Repair in Studio City, CA
When your thermostat fails, your home comfort and energy bills are the immediate casualties. In Studio City, CA, where warm summers and sunny exposures are the norm, a properly functioning thermostat keeps cooling efficient during heat waves and prevents unnecessary cycling in shoulder seasons. This page explains common thermostat failures in Studio City homes, step-by-step diagnostic methods, typical repairs and parts replacements, realistic turnaround times, homeowner troubleshooting tips, and preventive maintenance to avoid repeat problems.
Why thermostat repair matters in Studio City, CA
Studio City properties range from older mid-century houses to modern condominiums. Many homes experience strong sun on south- or west-facing walls, hot attic temperatures, and HVAC systems that cycle heavily during late spring through early fall. A malfunctioning thermostat can cause:
- Inaccurate indoor temperatures or hot and cold spots
- Short cycling that increases wear on the HVAC system
- Higher cooling costs during extended warm periods
- Failure to reach setpoints leading to discomfort
Addressing thermostat problems promptly restores comfort and reduces long-term HVAC repair costs.
Common thermostat issues in Studio City homes
- Blank or flickering display: Often caused by dead batteries, loss of 24VAC power, or a failed display module.
- Inaccurate temperature readings: Sensor failure, miscalibration, or thermostat placement in direct sunlight or near appliances.
- HVAC not responding: Broken internal relay, faulty wiring, tripped breaker, or failed control board.
- Intermittent operation or random cycling: Loose wires, poor transformer output, or software glitches on smart thermostats.
- Smart thermostat connectivity problems: Weak Wi-Fi, firmware bugs, or incorrect system configuration.
- Relay or wiring faults: Corrosion, rodent damage in attics, or short circuits in aging cable runs.
Diagnostic steps technicians follow
A clear diagnostic process narrows root causes quickly while protecting the HVAC system.
- Visual and basic checks
- Inspect the thermostat for visible damage, dirt, or pest activity.
- Verify the display and battery status.
- Confirm system mode and temperature settings.
- Power and circuit checks
- Check the 24VAC transformer output at the furnace or air handler.
- Verify circuit breaker and control board power.
- Test continuity of common (C) and other control wires with a multimeter.
- Sensor and calibration tests
- Compare thermostat temperature reading to an accurate room thermometer.
- Test internal sensor with a known load or temperature source.
- Relay and control verification
- Listen for relay clicks while commanding heat or cool.
- Inspect relay contacts and test for proper switching voltage.
- Confirm the HVAC responds to direct control at the furnace or air handler.
- Smart thermostat diagnostics
- Verify Wi-Fi strength at the thermostat location.
- Check firmware versions and review system configuration.
- Perform factory reset only after saving important settings.
Technicians document findings and recommend repair or replacement options based on cost, age of equipment, and long-term reliability.
Typical repairs and parts replacement options
- Battery replacement: Fast and often resolves display and intermittent issues.
- Thermostat replacement: Upgrading to a compatible digital or smart thermostat when the existing unit is obsolete or chronically unreliable.
- Sensor replacement or recalibration: Fixes inaccurate readings and reduces temperature swings.
- Relay replacement or board repair: For thermostats with serviceable relays or integrated control boards.
- Wiring repair or re-termination: Replace corroded terminals, re-route chewed wires, or add a common wire where needed for smart thermostats.
- Transformer replacement: When 24VAC supply is weak or intermittent.
- Professional relocation: Moving the thermostat to a more representative location away from sun, appliances, or drafty doors.
Most replacement parts are standard residential components: batteries, sensors, circuit boards, transformers, and new thermostat units.
Typical turnaround times
- Homeowner troubleshooting and battery replacement: 10–30 minutes.
- Technician diagnostic visit: 30–90 minutes depending on complexity.
- Simple repairs (battery, recalibration, loose wire): Usually same-day, often under an hour.
- Parts replacement (thermostat unit, sensor, relay): Same day if parts are on hand, otherwise 1–2 business days to source and install.
- Wiring repairs or relocation: 1–4 hours depending on access and run length.
- Smart thermostat setup and configuration: 1–2 hours including Wi-Fi and HVAC system verification.
Turnaround varies with access to replacement parts and whether additional HVAC repairs are identified during diagnostics.
Troubleshooting tips homeowners can try first
These steps resolve many common issues and help you decide whether professional repair is necessary:
- Replace thermostat batteries and verify the display lights up.
- Check the HVAC circuit breaker and furnace switch.
- Confirm the thermostat is set to the correct mode (heat or cool) and the temperature setpoint is appropriate.
- Remove the thermostat cover and check for loose wires; do not disturb labeled wires.
- If a smart thermostat loses connection, reboot your router and the thermostat, then recheck Wi-Fi signal.
- Compare the thermostat reading with a handheld thermometer placed nearby to check for large discrepancies.
- Clean dust away from the thermostat and ensure vents are not blowing directly on the unit.
If the system does not respond after these checks, a professional diagnostic is advised to prevent electrical or HVAC damage.
Preventive maintenance to avoid future failures
- Annual thermostat check: Verify calibration, battery health, and firmware updates for smart units.
- Protect thermostat location: Avoid direct sunlight, heat sources, and external doors; consider shades on west-facing walls common in Studio City.
- Label wires: When replacing equipment, label wires for easier future service.
- Keep wiring enclosed: Rodents and attic heat are common in Southern California; ensure wiring runs are secure and protected.
- Use surge protection: Protect transformers and control circuits from voltage spikes.
- HVAC seasonal tune-up: A well-maintained system reduces thermostat strain and improves response accuracy.
Timely thermostat repair and preventive care extend HVAC lifespan, keep energy use efficient during Studio City heat, and maintain comfortable indoor conditions year-round.
If an issue persists after basic checks, professional diagnostic testing will identify whether a repair, part replacement, or thermostat upgrade is the best long-term solution for your Studio City home.
Customer
Testimonials
Our customers consistently praise the exceptional service and professionalism of our team. They appreciate the honest advice, meticulous work, and the care taken to ensure their satisfaction.

.webp)
Service Areas
