
Thermostat Installation in Westlake Village, CA

Thermostat installation in Westlake Village, CA offers professional expertise to help homeowners choose compatible models, verify wiring, and integrate systems with heat pumps, zoning controls, and Wi-Fi connectivity. Expert installation minimizes wiring errors, maximizes performance, and enhances energy efficiency through customized programming. Services include guidance on thermostat types, pre-installation assessments, and a step-by-step installation process—from safety inspections to network configuration and performance testing. Homeowners also receive tailored energy-saving tips, warranty information, and post-installation support, along with practical troubleshooting advice to maintain smooth, reliable operation year-round.
Thermostat Installation in Westlake Village, CA
Thermostat installation in Westlake Village, CA gives homeowners precise control over indoor comfort and energy use. With our local Mediterranean climate—hot, dry summers and mild, wet winters—choosing the right thermostat and having it installed correctly makes a measurable difference in comfort and utility bills. This page explains your installation options, common compatibility issues in Westlake Village homes, what to expect during a professional visit, energy-saving programming recommendations, warranty and support considerations, and simple troubleshooting steps after installation.
Why professional thermostat installation matters in Westlake Village
Westlake Village experiences significant cooling demands in summer and moderate heating needs in winter. A properly installed thermostat ensures:
- Accurate temperature sensing and consistent comfort throughout the home
- Correct integration with your HVAC equipment, including heat pumps, two-stage systems, and zoned systems
- Reliable Wi-Fi and smart home integration for remote control and scheduling
- Energy savings through optimized programming that suits local weather patterns and time-of-use electricity pricing
DIY installs can work for simple systems, but professional installation minimizes compatibility problems, prevents wiring mistakes, and saves time.
Types of thermostats we install
- Basic programmable thermostats: 7-day or 5-2 schedules for simple setback control
- Advanced programmable thermostats: multi-program schedules and greater customization
- Smart thermostats: Wi-Fi enabled, learning algorithms, geofencing, remote control via apps, and energy reports
- Zoning thermostats and controls: for homes with separate HVAC zones or motorized dampers
- Heat pump compatible thermostats: specifically configured for reversing valves and auxiliary heat
Common thermostat installation issues in Westlake Village homes
- Missing C-wire (common wire): Older homes often lack a 24V common wire required by many smart thermostats. Solutions include adding a C-wire, using a compatible power adapter, or installing a thermostat that does not require a C-wire.
- Incompatible HVAC control voltage: Some systems use line-voltage thermostats (120/240V) rather than low-voltage 24V controls. Low-voltage smart thermostats are not compatible with line-voltage systems without a proper relay or adapter.
- Multi-stage and heat pump complexity: Two-stage compressors, dual-fuel systems, and heat pumps require correct terminal mapping and mode configuration to prevent short-cycling or improper operation.
- Zoning systems and accessories: Homes with motorized dampers, accessory sensors, or legacy control boards need tailored wiring and sometimes additional modules.
- Wi-Fi and network limitations: Thick walls, older routers, or weak signals in certain parts of a house can affect smart thermostat connectivity and remote features.
Pre-installation compatibility check
Before any installation, a thorough compatibility assessment includes:
- Identifying HVAC type: furnace/air handler, heat pump, mini split, or line-voltage baseboard
- Examining the existing thermostat wiring and verifying presence of a C-wire
- Checking control voltages at the thermostat terminals
- Verifying zoning controls, auxiliary equipment, and powered devices
- Assessing Wi-Fi coverage where the thermostat will be installed
This ensures the chosen thermostat model will function correctly and avoids surprises during the visit.
Typical installation process and what to expect
- Arrival and safety check
- Technician confirms power is off at the thermostat and HVAC system, verifies safety protocols.
- System inspection
- Review existing wiring, control board, and any zone or accessory devices.
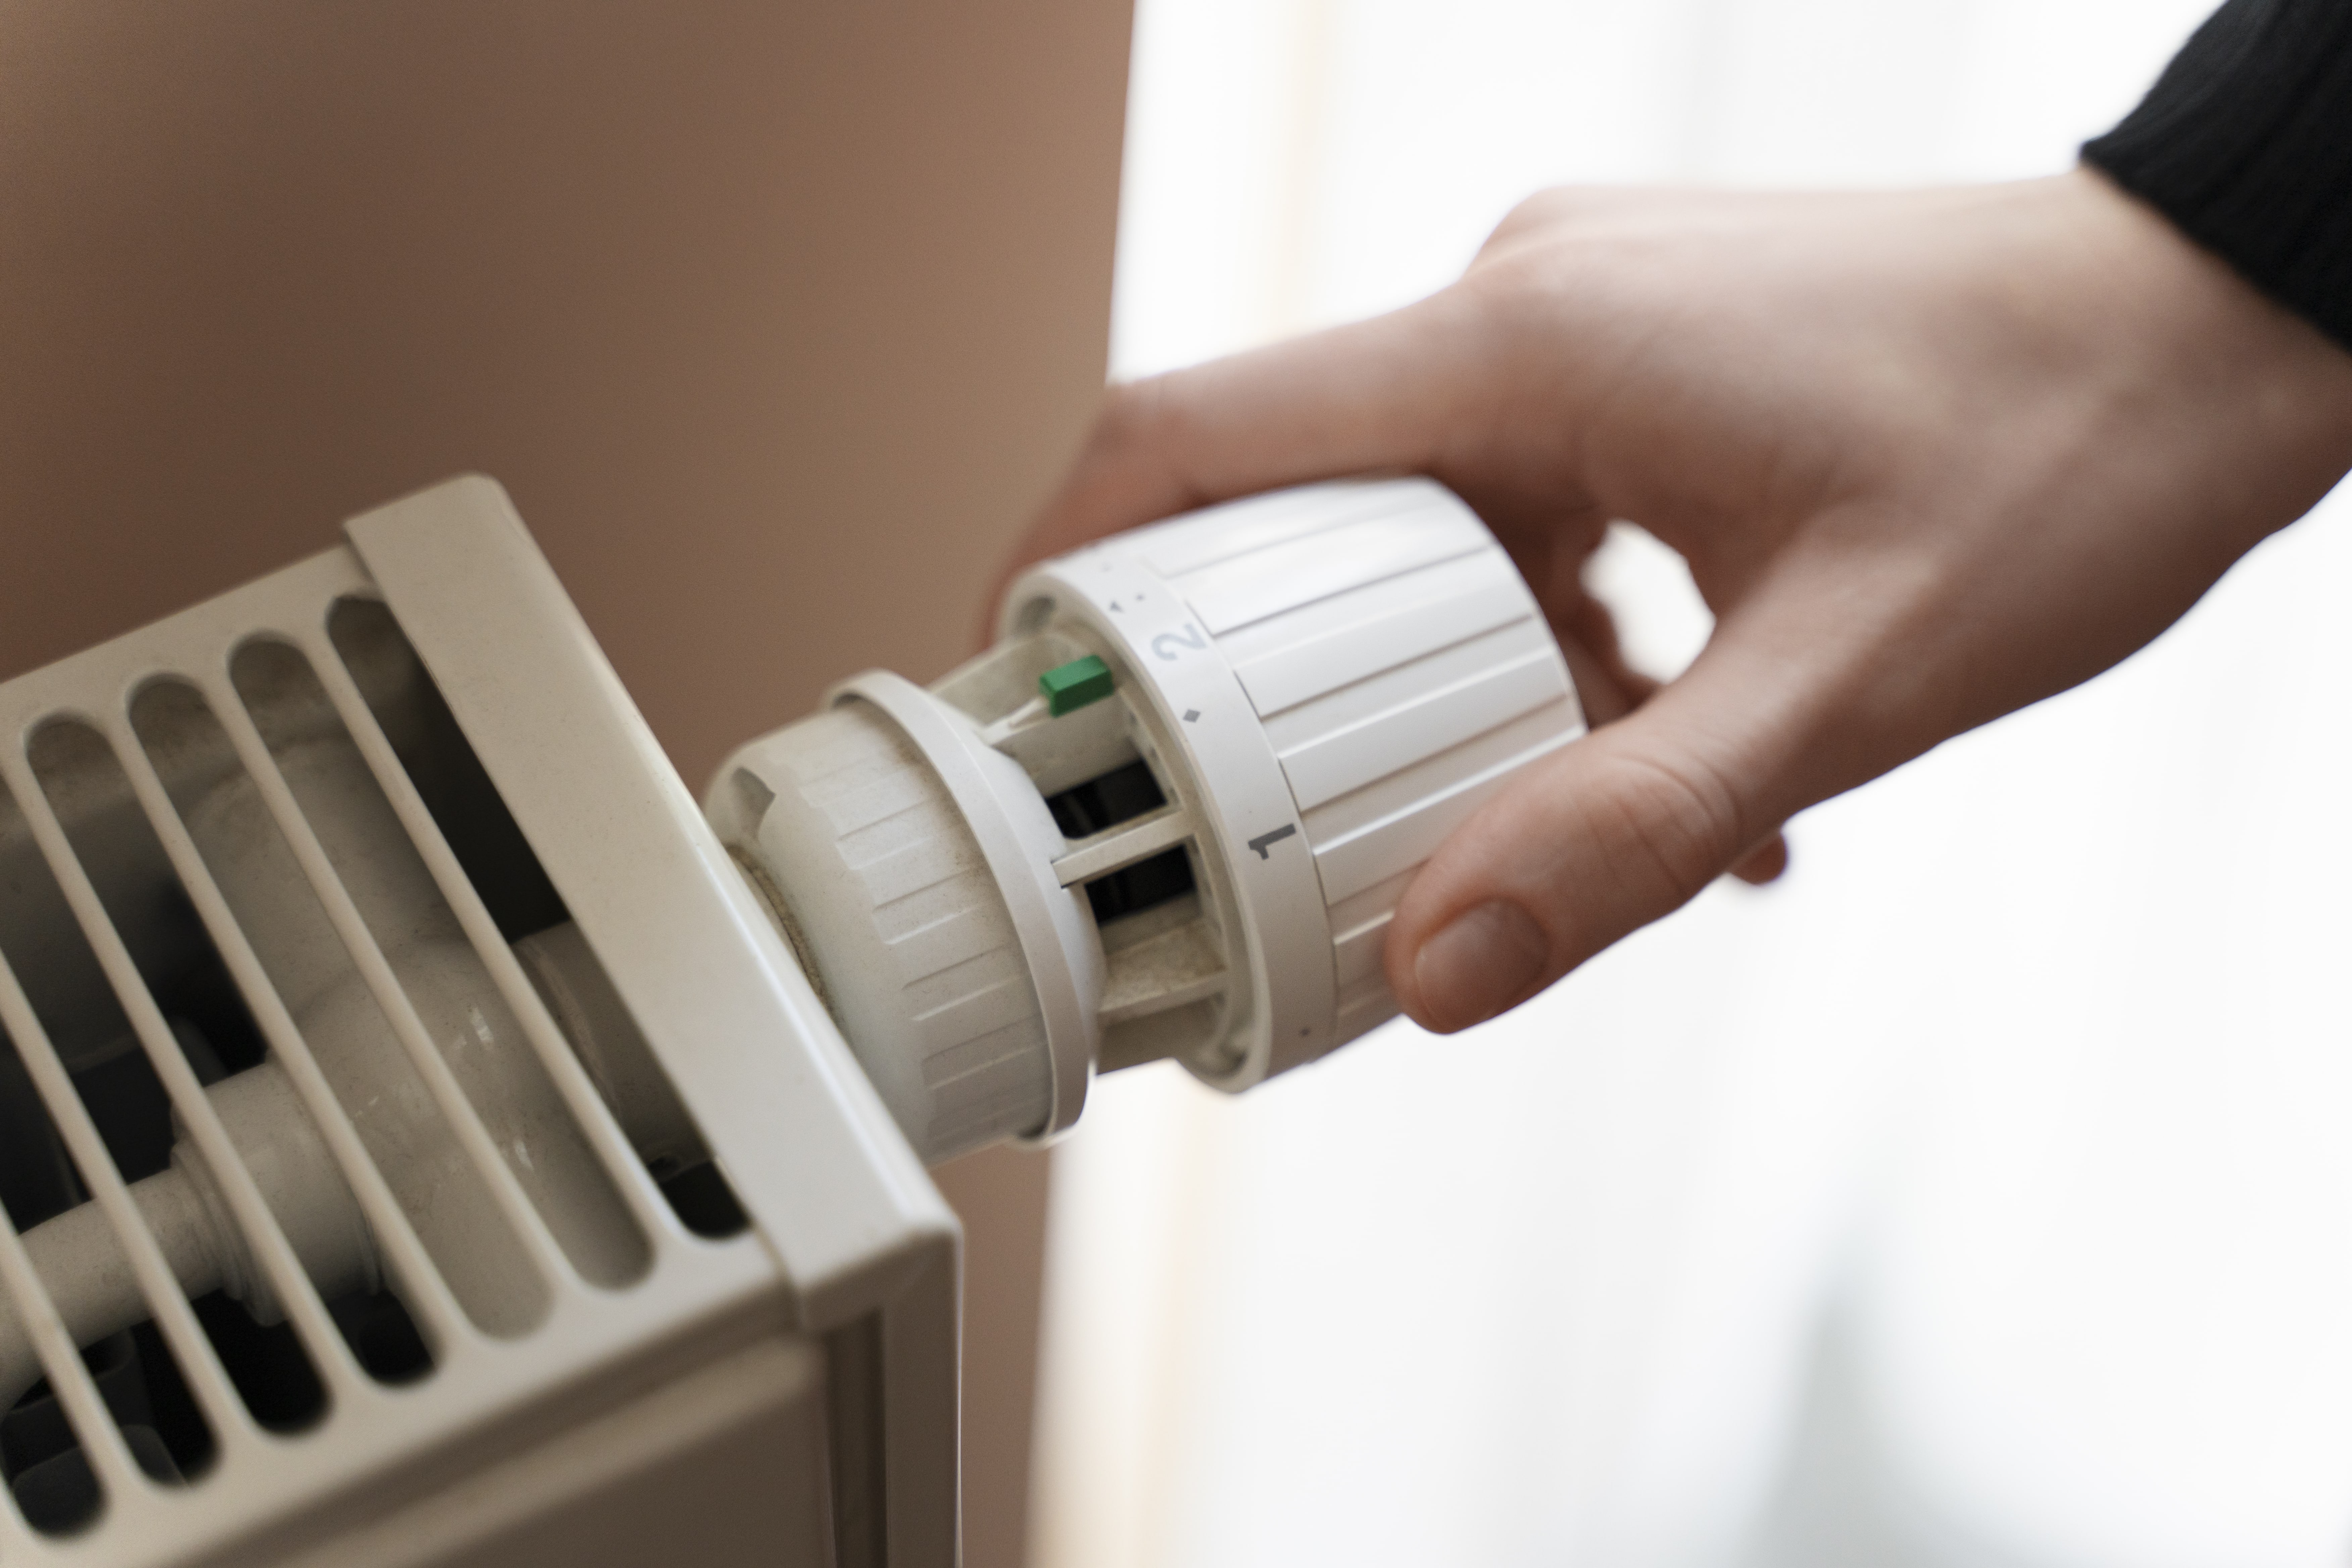
- Mounting and wiring
- Remove the old thermostat, mount the new backplate, label and connect wires to the correct terminals. If a C-wire is missing, install a C-wire adapter or run a new conductor when needed.
- Power-up and configuration
- Restore power, configure the thermostat for the HVAC type, stage counts, and any heat pump settings.
- Network and app setup (for smart models)
- Connect the thermostat to home Wi-Fi, link to user accounts or apps, and configure remote access and preferences.
- Functional testing
- Run heating and cooling tests, verify correct valve and compressor operation, and check zone damper behavior if applicable.
- User training and handoff
- Walk through scheduling, temperature presets, app control, and energy-saving modes. Show how to override schedules and interpret basic diagnostics.
- Cleanup and documentation
- Leave wiring labels, model numbers, and basic instructions. Explain warranty coverage and follow-up support options.
Typical install time varies: basic programmable models can take 30 to 60 minutes, while complex multi-stage or zone integrations may take 1.5 to 3 hours.
Energy-saving programming recommendations for Westlake Village
- Summer cooling: Set cooling setbacks when the house is unoccupied and stagger setpoints to avoid continuous compressor operation. Raise the setpoint by 4 to 6 degrees during work hours.
- Winter heating: Use modest setbacks overnight or during the workday. Avoid extreme setbacks if your system uses electric resistance backup, as recovery can be costly.
- Smart features: Enable geofencing and scheduling so the thermostat pre-cools or pre-heats based on your commute patterns and local temperatures.
- Temperature bands: For mixed-use homes in Westlake Village, consider room-by-room comfort with ceiling fans and targeted zone control rather than lowering the whole-house temperature.
- Time-of-use awareness: California often has variable electricity rates. Program the thermostat to reduce HVAC load during peak-rate windows, if appropriate for comfort.
- Humidity control: Westlake Village summers are dry; avoid overcooling for dehumidification. Use economizer or ventilation features when evenings are cooler.
Warranty, support, and follow-up
- Manufacturer warranty: Most thermostats include a limited warranty covering defects. Warranty lengths vary by brand and model.
- Installation workmanship: Professional installers typically provide a workmanship or service warranty covering wiring and install errors for a specified period.
- Software updates and account maintenance: Smart thermostats receive firmware updates. Ensure account credentials are documented and that users know how to update credentials if they change.
- Remote diagnostics and support: Many models allow remote diagnostics to troubleshoot Wi-Fi connectivity or sensor issues without an on-site visit.
- Seasonal check: A follow-up seasonal check can optimize settings and ensure the thermostat and HVAC system are operating efficiently before peak summer or winter use.
Simple troubleshooting after installation
- No power or blank display: Confirm breaker and furnace switch are on; verify the C-wire or power adapter is installed.
- Thermostat won’t connect to Wi-Fi: Move the router closer for a test, check network password and frequency band (2.4 GHz vs 5 GHz). Some thermostats require 2.4 GHz.
- HVAC not responding correctly: Re-check thermostat mode (heat/cool/auto), fan settings, and stage configuration. If a heat pump is cycling strangely, check reversing valve settings.
- Inaccurate temperature reading: Ensure the thermostat is not installed above a heat source, in direct sunlight, or blocked by furniture.
Thermostat installation in Westlake Village, CA is an opportunity to improve comfort, increase HVAC efficiency, and gain modern control over your home environment. With the right compatibility checks, professional wiring and configuration, and localized programming strategies, homeowners can realize reliable performance and measurable energy savings tailored to Westlake Village conditions.
Customer
Testimonials
Our customers consistently praise the exceptional service and professionalism of our team. They appreciate the honest advice, meticulous work, and the care taken to ensure their satisfaction.

.webp)
Service Areas
