
Thermostat Installation in Sherman Oaks, CA

Thermostat installation in Sherman Oaks delivers improved comfort, energy efficiency, and precise climate control across homes from bungalows to condos. Professional services address compatibility with heat pumps, multi-zone systems, and advanced digital thermostats, ensuring proper wiring, C-wire availability, and secure mounting. A thorough evaluation identifies equipment type, wiring needs, and zoning possibilities to prevent false readings and unreliable performance. Installation steps emphasize safety, wiring verification, calibration, and commissioning. Ongoing guidance covers maintenance, firmware updates, and user training for optimal reliability.
Thermostat Installation in Sherman Oaks, CA
Upgrading or replacing a thermostat in your Sherman Oaks home is one of the most effective ways to improve comfort, reduce energy waste, and get better control over heating and cooling. Whether you live in a single-family home, a mid-century bungalow, or a newer condo in the San Fernando Valley, proper thermostat selection and professional installation ensure your HVAC system runs efficiently through hot summers and mild winters common to Sherman Oaks.
Why professional thermostat installation matters in Sherman Oaks, CA
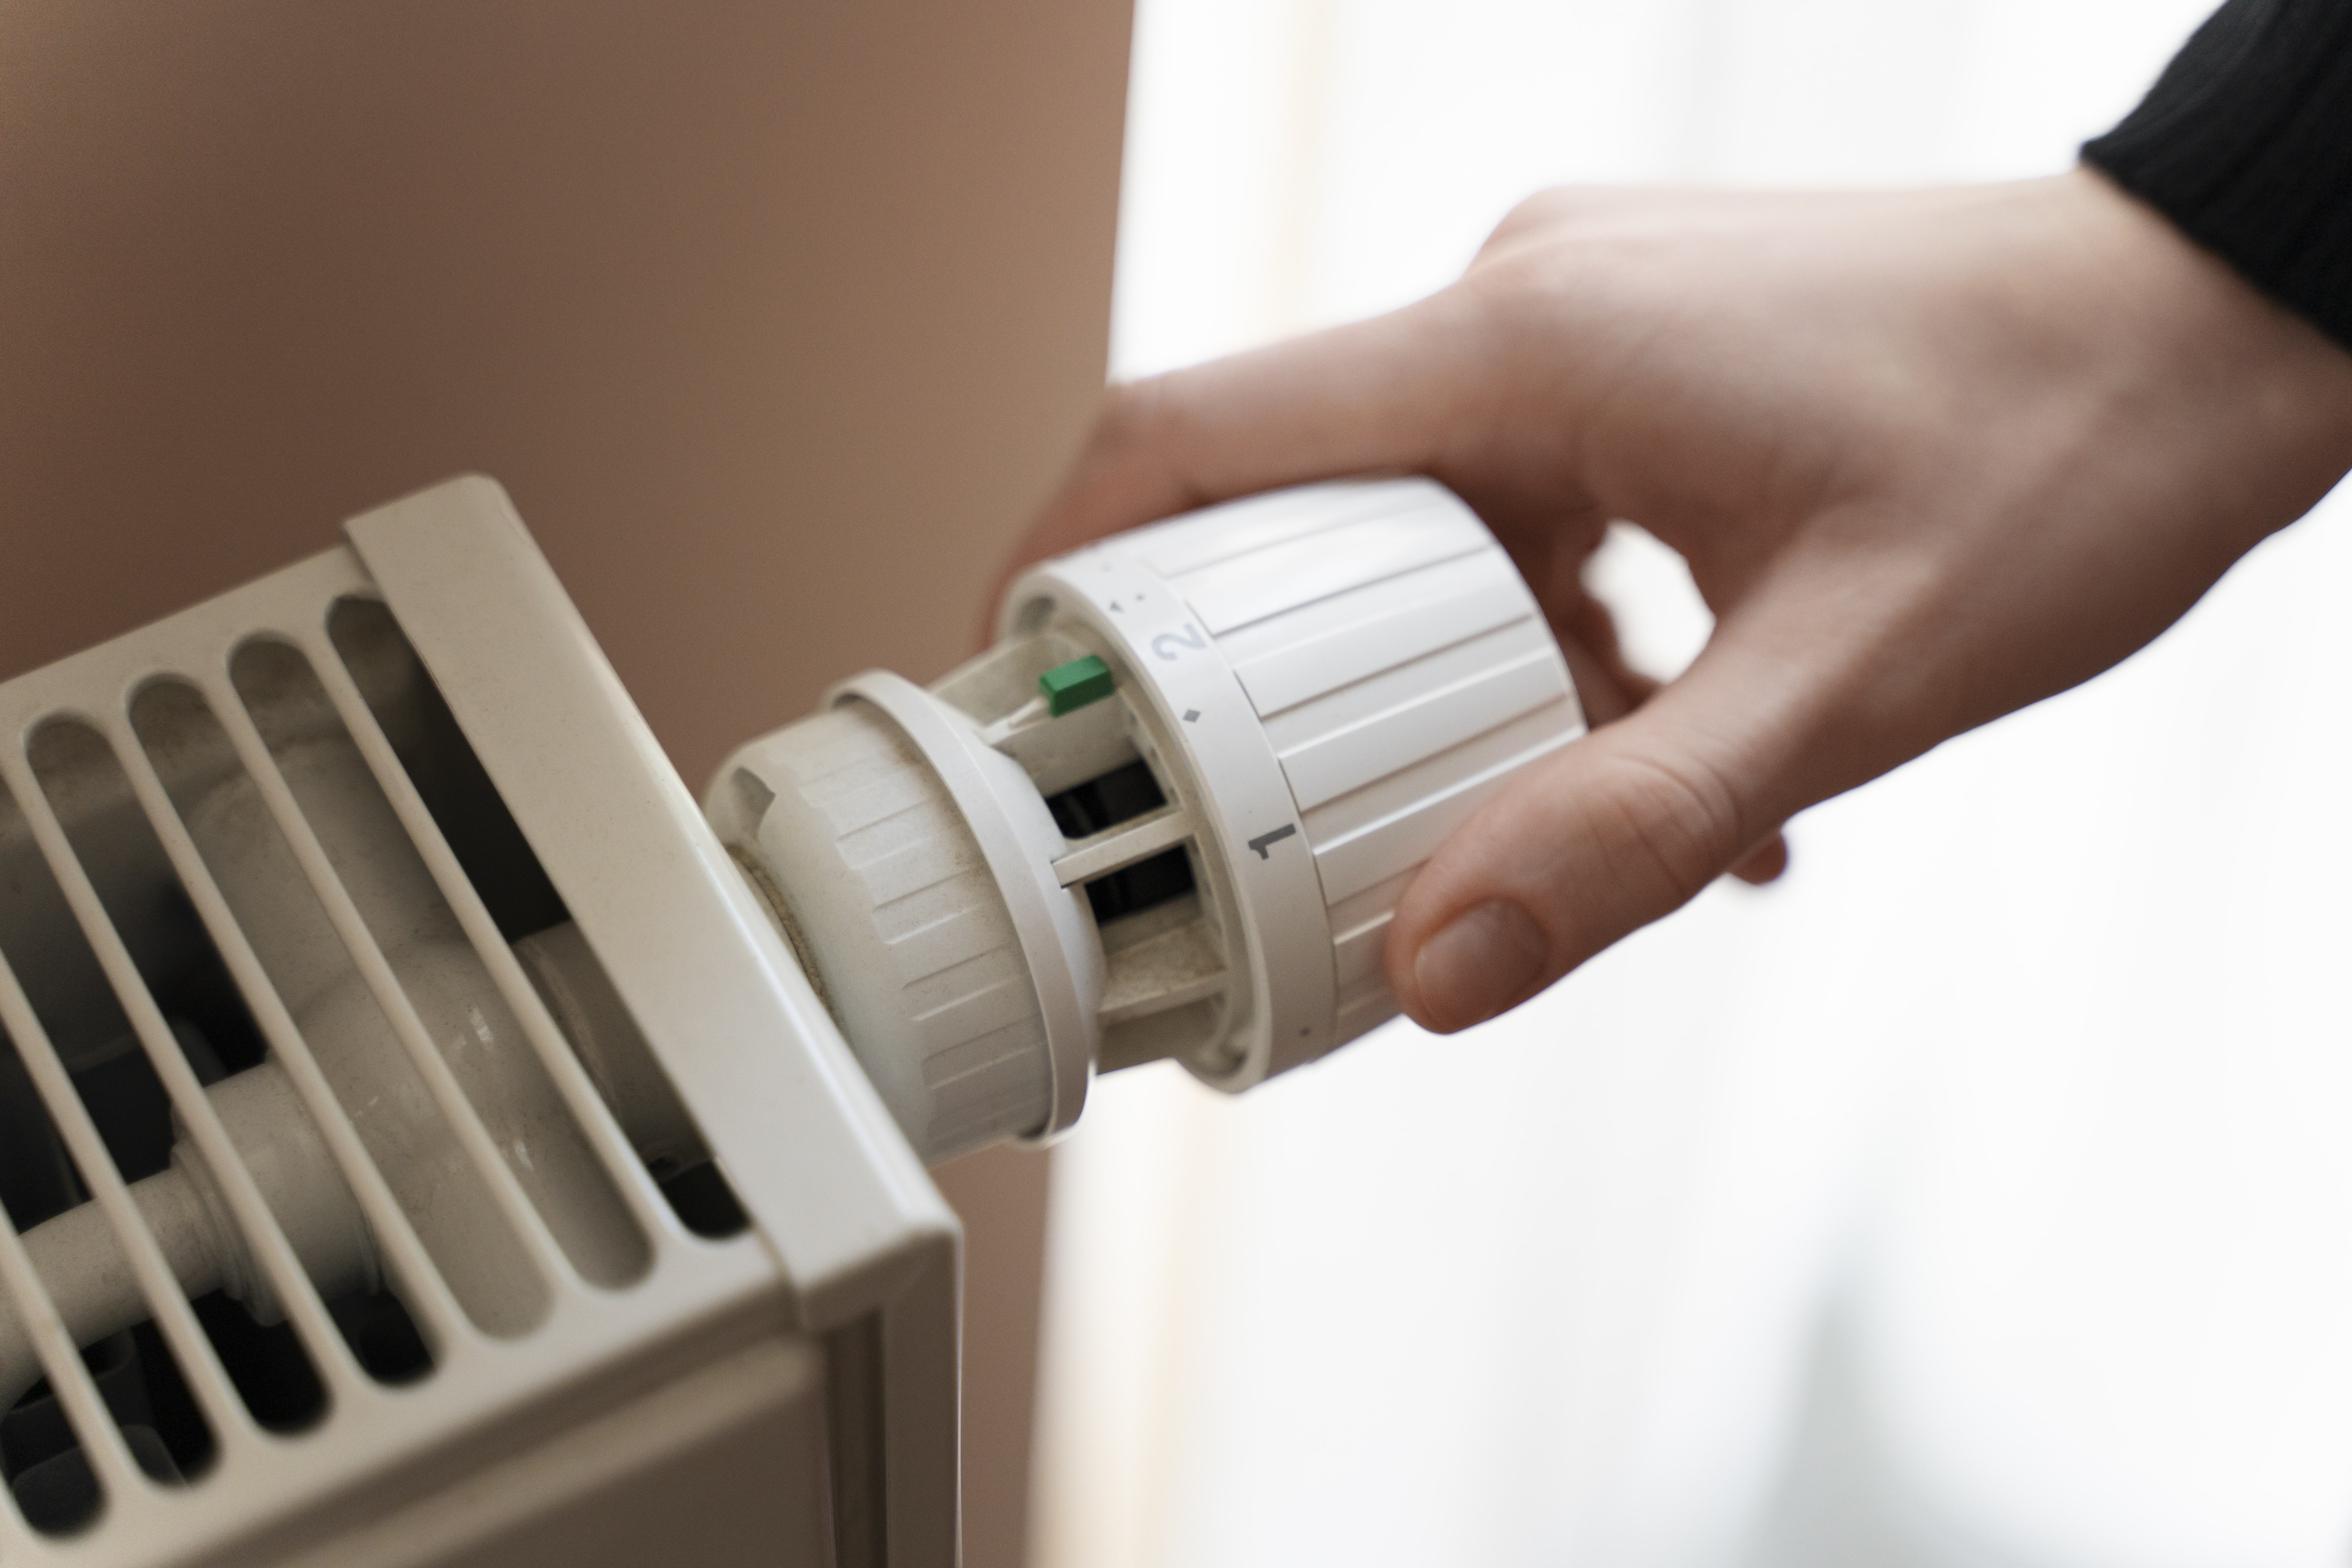
Sherman Oaks experiences long cooling seasons and occasional temperature swings from late spring through fall. Homes here often rely heavily on air conditioning, making thermostat accuracy and placement critical. Professional installation ensures:
- System compatibility with split systems, heat pumps, multi-stage furnaces, or packaged rooftop units common in the area.
- Proper wiring and power delivery so modern digital and smart thermostats function reliably, especially when a C-wire is required.
- Correct physical placement to avoid false readings from sunlight, attic heat, or exterior walls.
- Safe handling of electrical components and adherence to local code practices where applicable.
Common thermostat issues in Sherman Oaks homes
- Noisy or frequently cycling HVAC systems caused by incorrect thermostat settings or placement.
- Incompatibility with smart thermostats due to missing C-wire or older control systems.
- Poor temperature balance between rooms because of single-zone controls in homes that would benefit from zoning.
- Battery drain or intermittent connectivity for Wi-Fi thermostats because of insufficient power or wiring errors.
- Incorrect installation leading to inaccurate readings and reduced comfort during heat waves.
Types of thermostats and which to choose
- Mechanical (manual) thermostats: Simple, reliable controls for basic heating and cooling needs. Best when budget is the primary concern and system complexity is low.
- Digital non-programmable thermostats: More accurate temperature control and a clean interface for users who do not require scheduling.
- Programmable thermostats: Allow schedules to reduce cooling or heating when the home is unoccupied; useful for managing energy use during long summer days.
- Smart thermostats: Offer remote control, learning algorithms, geofencing, energy reports, and integration with home automation. Highly beneficial in Sherman Oaks for managing AC use during prolonged warm periods.
- Zoned controls and multi-stage thermostat solutions: Recommended for larger or multi-level homes with uneven temperatures.
Evaluation and system compatibility check
A proper installation begins with a thorough evaluation:
- Inspect the existing thermostat wiring and control board to determine available wires (R, RC, RH, W, Y, G, C, etc.).
- Identify the HVAC equipment type: standard compressor/air handler split systems, heat pumps, dual fuel systems, or packaged units.
- Determine whether the home requires a C-wire or power adapter for smart thermostats.
- Check for multi-stage capabilities or zoning systems that need specialized controllers.This evaluation avoids incompatibility surprises and helps pick the right thermostat model for long-term reliability.
Professional wiring and mounting procedures
- Turn off power to the HVAC system at the breaker to ensure safety.
- Label and document existing wires before disconnecting the old thermostat to preserve proper connections.
- Run or adapt wiring when necessary, including installing a C-wire, power extender module, or transformer if required.
- Securely mount the thermostat level to the wall at an optimal height away from direct sunlight, windows, drafts, and heat sources.
- For smart thermostats, configure and secure the Wi-Fi connection, ensuring stable signal strength from the thermostat location.
Calibration, testing, and commissioning
After wiring and mounting, thorough calibration and testing are performed:
- Power up the system and test heating and cooling calls across all relevant stages.
- Verify fan controls, swing between heating and cooling, and any auxiliary heat on heat pump systems.
- Check temperature accuracy by comparing thermostat readings to independent thermometers in the same room.
- Confirm network connectivity, app access, and remote control functions for smart devices.
- For zoning or multi-thermostat setups, balance registers and dampers to achieve even distribution of conditioned air.
User training and setup
Technicians provide hands-on training so homeowners understand how to get the most from their new thermostat:
- Walk through basic controls and mode operation (heat, cool, auto, fan).
- Explain scheduling or learning features and how to modify them.
- Demonstrate energy-saving features such as setback schedules, geofencing, and vacation modes.
- Show how to read energy reports and interpret alerts or diagnostic messages.
- If applicable, explain integration with other smart home devices and voice assistants.
Warranty and post-installation support
Professional installations typically combine manufacturer warranties with workmanship assurance. Post-install support usually includes:
- Guidance on registering manufacturer warranties and understanding coverage.
- Follow-up checks to confirm thermostat operation during initial weeks, especially during high-demand weather.
- Troubleshooting support for connectivity or programming questions.
- Advice on firmware updates and best practices to maintain reliability over time.
Estimated installation times
- Simple replacement of a like-for-like thermostat: typically 30 to 60 minutes.
- Smart thermostat installation with existing compatible wiring: usually 60 to 90 minutes, including app setup and testing.
- Installations that require running a new C-wire, powering with an adapter, or integrating with a multi-stage or zoned system: commonly 2 to 4 hours depending on complexity.
- Full system integrations that involve zoning or multiple thermostats may require additional time for balancing and commissioning.
Benefits for Sherman Oaks homeowners
- More consistent comfort during long warm spells and better overnight temperature control.
- Reduced energy waste through optimized scheduling and smart features that adapt to lifestyle and local climate patterns.
- Improved HVAC lifespan by reducing unnecessary cycling and enabling more efficient system operation.
- Enhanced convenience through remote access, voice control, and automated schedules that suit daily routines.
Maintenance tips to keep your thermostat reliable
- Keep the thermostat and surrounding area clean and free of dust and obstructions.
- Replace batteries as recommended if using a battery-powered unit.
- Periodically verify Wi-Fi connectivity and update firmware for smart thermostats.
- Recheck temperature calibration if you notice persistent discrepancies.
- Consider seasonal review of programming to match changing occupancy patterns and seasonal temperature shifts.
Upgrading or correctly installing a thermostat in Sherman Oaks is a practical investment in home comfort and efficiency. Proper evaluation, professional wiring, precise calibration, and user education ensure the system performs reliably through hot summers and the variable conditions found in the San Fernando Valley.
Customer
Testimonials
Our customers consistently praise the exceptional service and professionalism of our team. They appreciate the honest advice, meticulous work, and the care taken to ensure their satisfaction.

.webp)
Service Areas
