
Thermostat Installation in Alhambra, CA

Professional thermostat installation in Alhambra, CA enhances comfort and lowers energy waste by ensuring accurate temperature control and properly wired, compatible systems. The guide explains programmable, non-programmable, and smart models, helping homeowners choose based on routines and remote access needs. It outlines essential compatibility checks, site steps for safe removal, wiring, and testing, plus placement recommendations to optimize sensing. It also covers warranties, timelines, costs, maintenance tips, and the long-term energy savings achievable with properly installed thermostats in climate-focused homes.
Thermostat Installation in Alhambra, CA
Upgrading or replacing a thermostat is one of the fastest, most effective ways to improve comfort and reduce energy waste in Alhambra, CA homes. Whether you are dealing with inconsistent temperatures during hot summer afternoons, an aging analog thermostat that no longer responds reliably, or you want to add scheduling and remote control, professional thermostat installation ensures your HVAC runs efficiently and matches local living patterns and climate demands.
Why professional thermostat installation matters in Alhambra, CA
Alhambra experiences warm, dry summers and mild winters. Homes here often rely heavily on air conditioning for many months of the year, so thermostat accuracy and placement directly affect comfort and energy bills. Older homes in the area may have legacy HVAC wiring, multi-zone systems, or nonstandard mounting locations that require a careful compatibility check. Professional installation reduces the risk of wiring mistakes, improper placement, and programming errors that lead to short cycling, poor comfort, or higher utility use.
Thermostat types: programmable, non-programmable, and smart
- Programmable thermostats: Let you set multiple daily or weekly temperature schedules. Good for homeowners with predictable routines who want automated temperature setbacks.
- Non-programmable (manual) thermostats: Simple to use and reliable for occupants who prefer one-touch control. Best when occupancy is irregular or when users want straightforward operation.
- Smart thermostats: Add Wi-Fi control, learning routines, geofencing, remote monitoring, and energy reports. Excellent for owners who want remote access, integration with home automation, or advanced energy optimization.
Choosing between these depends on daily routine, desired automation, and whether remote access or integration with other smart home devices is important. In Alhambra, where cooling is a primary use, programmable or smart thermostats typically provide the biggest opportunity to reduce wasted runtime.
Compatibility checks before installation
A thorough compatibility assessment prevents common installation problems. Checks include:
- HVAC type: Confirm the thermostat supports standard forced-air systems, heat pumps, boilers, or multi-stage equipment.
- Wiring: Verify presence of required wires (for example, a common C wire for many smart thermostats). Older systems may lack a C wire or use proprietary control voltages.
- Voltage: Ensure the thermostat matches low-voltage (24V) or line-voltage systems if applicable.
- Multi-zone and multi-stage systems: Identify whether zones, multiple compressors, or accessory heat strips require a more advanced thermostat.
- Physical mounting: Inspect wall materials and location for secure mounting and proper sensor performance.
A professional will document these findings and recommend the right model and any necessary wiring upgrades.
On-site installation steps — what to expect
A standard professional installation typically follows these steps:
- Preparation: Turn off power to the HVAC system at the breaker to ensure safety.
- Removal: Carefully remove the existing thermostat, label wires, and photograph the setup for reference.
- Wiring and mounting: Connect wires to the new thermostat base using labeled terminals, install a common wire if needed (via adapter or new wiring), and mount the backplate level on the wall.
- Power verification: Restore power and confirm the thermostat powers on and communicates with the HVAC system.
- Configuration and programming: Set control type (heat/cool/auto), system stages, fan behavior, and schedule options. For smart thermostats, connect to the home Wi-Fi and complete any account setup.
- Testing: Run heating and cooling cycles to confirm proper response, check for short cycling, and verify that dampers or zone controls (if present) operate correctly.
- Final inspection: Securely fasten the thermostat, tidy wiring, and leave a brief usage note for the homeowner.
Technicians adapt these steps for complex systems, such as heat pumps, multiple zones, or systems needing a relay panel.
Initial configuration and testing details
Initial configuration ensures the thermostat and HVAC speak the same language. Key items covered during setup:
- System selection and stage settings so heating and cooling cycles start and stop as intended.
- Fan control behavior to match homeowner preference and system capacity.
- Temperature swing and cycle rate to prevent short cycling.
- Scheduling: pre-set weekday/weekend programs or custom temperature bands for energy savings.
- Wi-Fi and app integration for remote control and monitoring, including energy reports and alerts.
- Verification of correct sensor readings and adjustments for true room temperature.
Testing includes running complete heat and cool cycles and observing system response for several minutes. Technicians also confirm that the thermostat’s placement gives representative temperature readings and does not trigger false calls due to drafts, sunlight, or appliances.
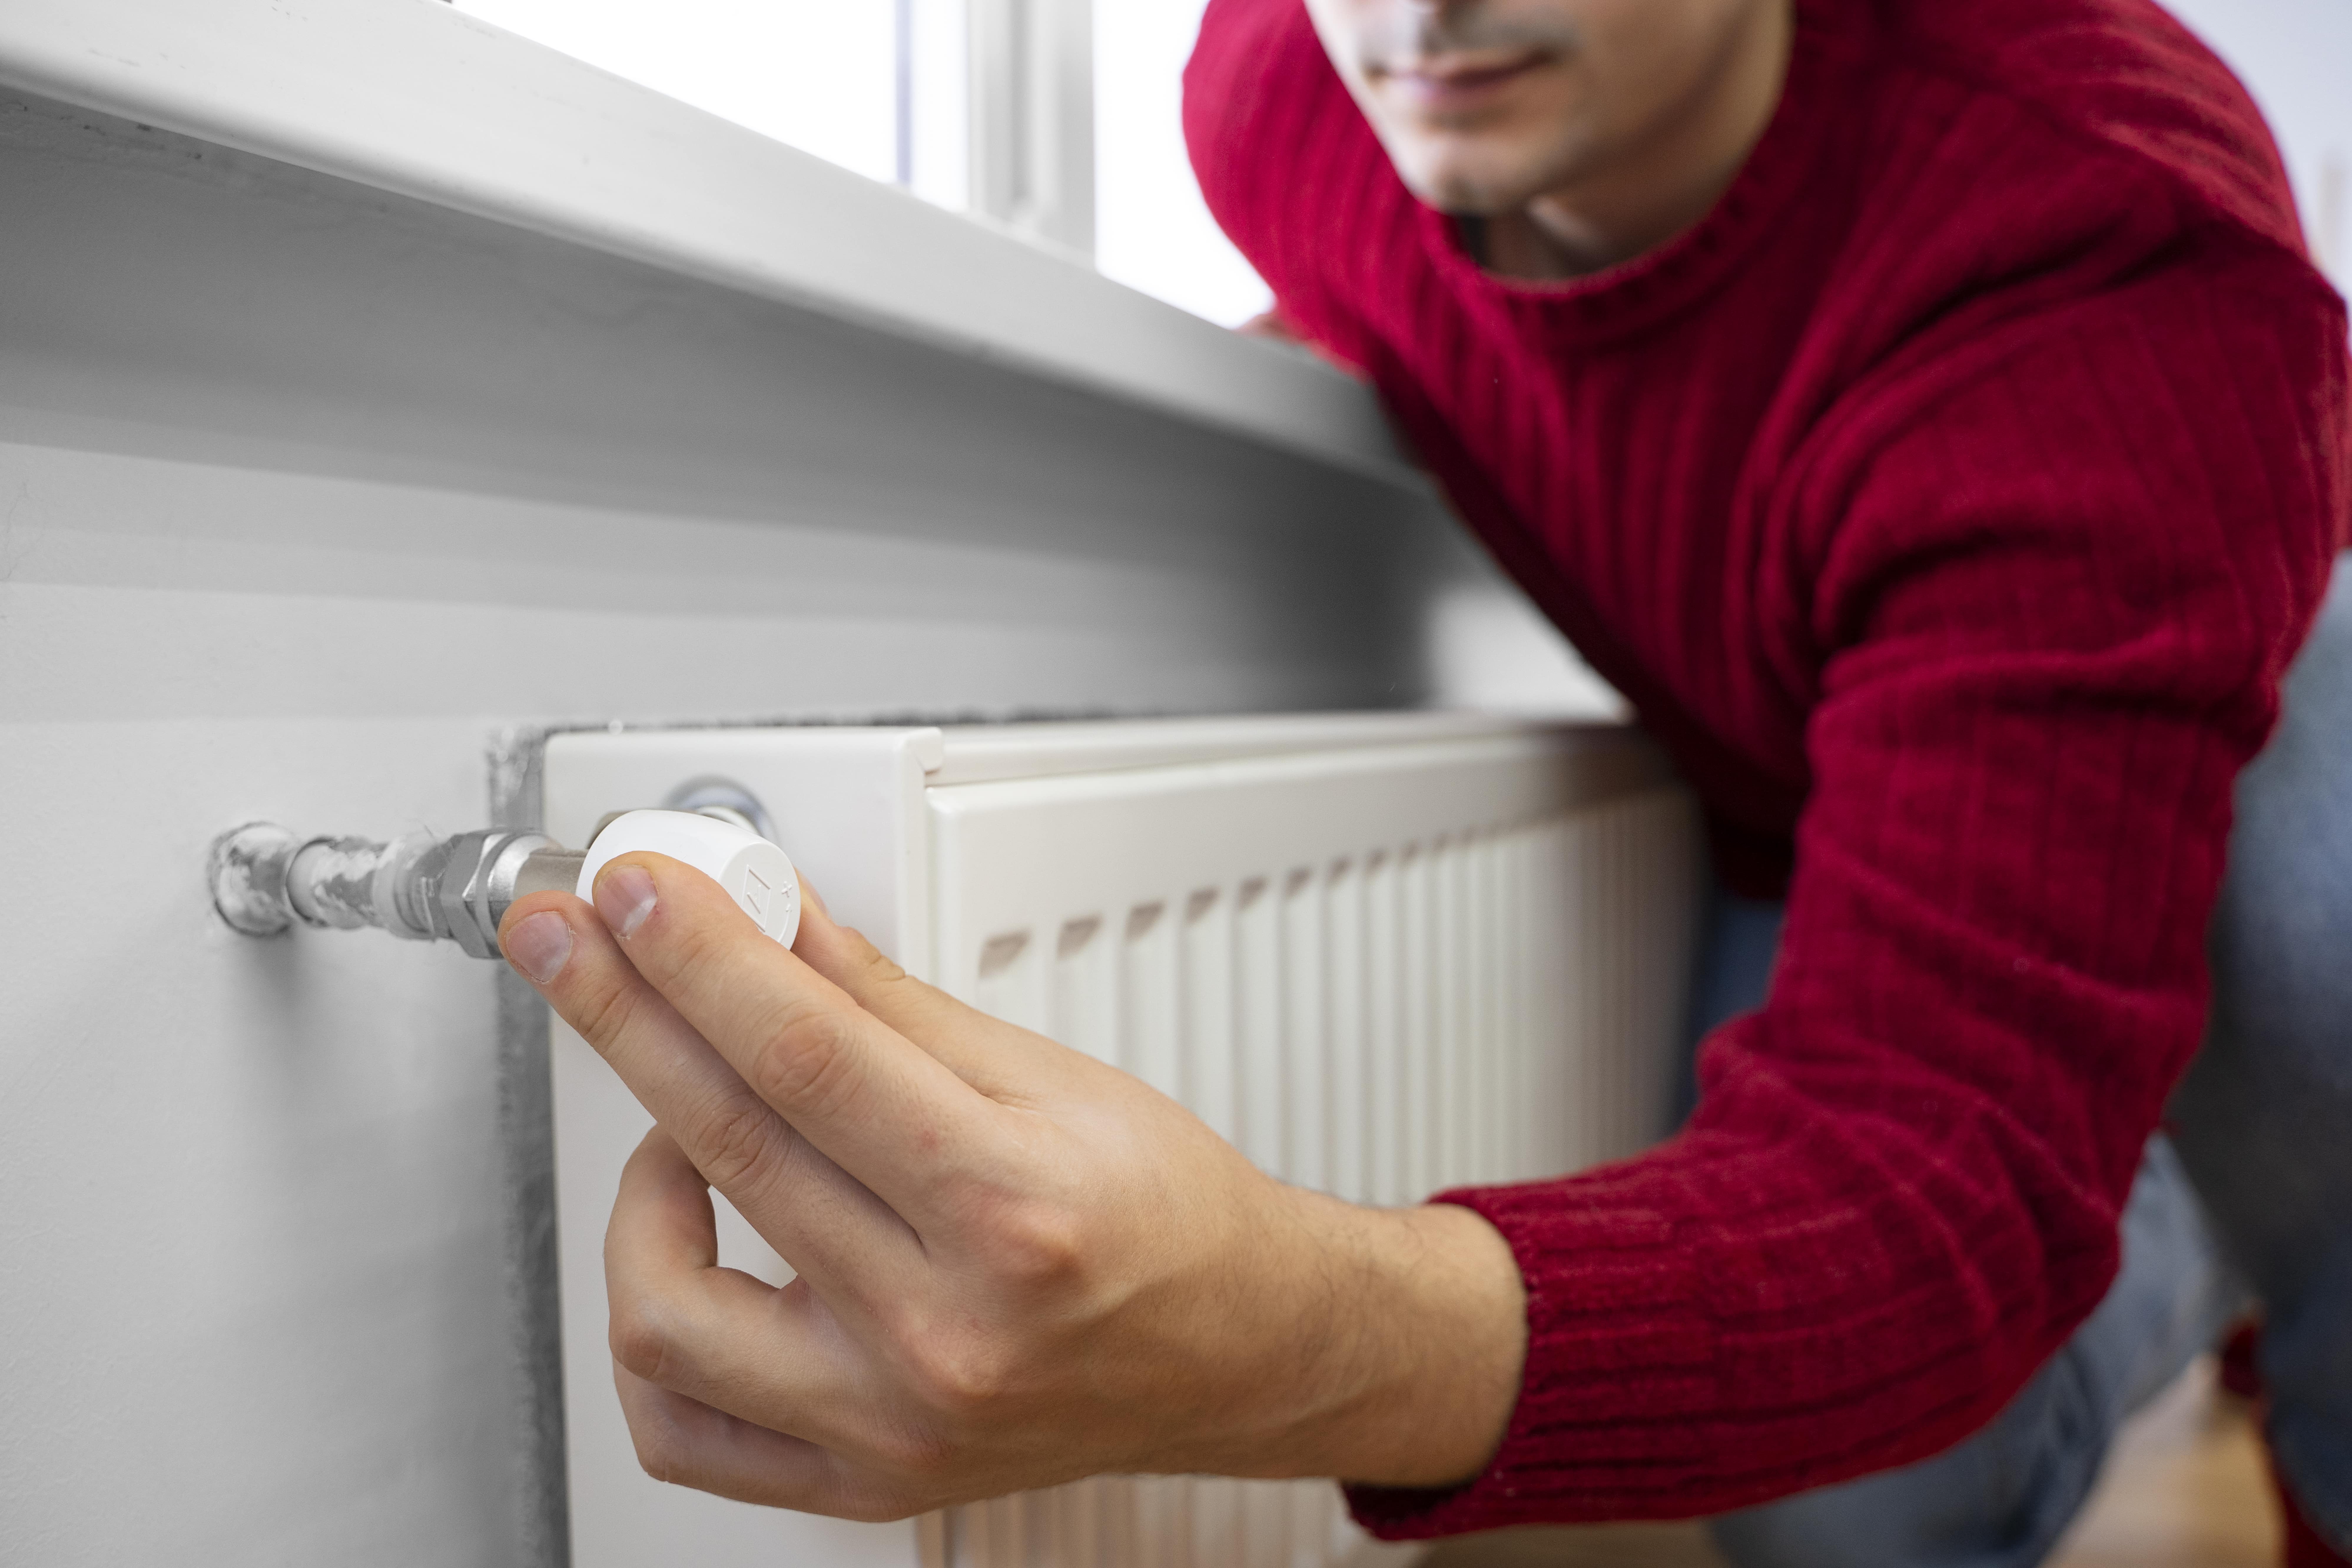
Placement recommendations for best performance
Thermostat location matters more than many homeowners realize. Best practices:
- Place on an interior wall, about 52 to 60 inches above the floor, away from direct sunlight, vents, doors, windows, and kitchens.
- Avoid walls shared with a garage or exterior-facing walls that experience large temperature swings.
- In split-level or multi-story homes, place the thermostat where the family spends most of their time or install separate controls for each level.
- For zoned systems, ensure each zone thermostat measures the representative living area, not a hallway or stairwell.
Correct placement reduces thermostat hunting and improves comfort consistency across the home.
Warranty, support, and reliability
Thermostats carry manufacturer warranties that commonly range from one to three years, depending on the brand and model. Professional installers often provide an installation warranty covering workmanship for a set period. Support elements to expect:
- Manufacturer support for device-specific faults and firmware updates.
- Installer support for wiring, configuration, and integration problems identified shortly after installation.
- Guidance on firmware updates and account management for smart thermostats to maintain security and performance.
Ask for documentation of warranty terms and the installer’s service window for post-installation questions.
Timelines and cost factors (what influences time and price)
Typical installation timelines:
- Simple replacement (like-for-like, same wiring): about 30 to 60 minutes.
- Smart thermostat requiring a C wire adapter or minor wiring work: about 60 to 90 minutes.
- Complex installations (multi-stage systems, zoning, running new wiring): 2 hours or more, possibly requiring a follow-up visit.
Cost drivers to consider (no specific prices provided):
- Thermostat model and feature set (basic, programmable, smart).
- Need for additional wiring, transformers, or a C wire installation.
- Complexity of the HVAC system (heat pump, multi-stage, multiple zones).
- Accessibility of the mounting location and any wall repair after removal.
Maintenance tips and long-term benefits
- Keep the thermostat clean and dust-free; avoid painting over sensors or mounting plates.
- Review schedules seasonally and adjust for occupant changes or vacation periods.
- For smart thermostats, keep firmware up to date to benefit from efficiency improvements and security patches.
- Periodic checks of wiring and system response help catch early issues before they become costly repairs.
Proper thermostat installation yields predictable comfort, reduced wear on HVAC equipment, and energy savings over time—particularly valuable in Alhambra where cooling demand is significant for much of the year.
Final note: A correctly selected and professionally installed thermostat tailored to your HVAC system and home layout delivers better temperature control, lower energy waste, and clearer, easier operation for daily use.
Customer
Testimonials
Our customers consistently praise the exceptional service and professionalism of our team. They appreciate the honest advice, meticulous work, and the care taken to ensure their satisfaction.

.webp)
Service Areas
