
Thermostat Repair in Rancho Cucamonga, CA

This service page outlines common thermostat problems in Rancho Cucamonga, CA, and explains a thorough diagnostic approach used by technicians to identify root causes. Topics include blank displays, inaccurate readings, wiring faults, stuck controls, smart thermostat communications, and sensor or sub-base issues in multi-stage systems. The process combines visual checks, voltage testing, calibration verification, and system signal testing to determine whether a quick repair or component replacement is needed. Timelines, preventive maintenance, and practical homeowner tips help maintain reliable, energy-efficient comfort.
Thermostat Repair in Rancho Cucamonga, CA
A properly working thermostat is essential for year-round comfort and energy efficiency in Rancho Cucamonga homes. With hot Inland Empire summers, cool winter nights, and frequent dust and temperature swings, thermostat problems quickly lead to comfort complaints, higher energy use, or intermittent HVAC operation. This page explains common thermostat repair issues in Rancho Cucamonga, CA, how problems are diagnosed, which fixes are simple versus when parts replacement is needed, expected repair times, homeowner troubleshooting steps, and maintenance tips to reduce future failures.
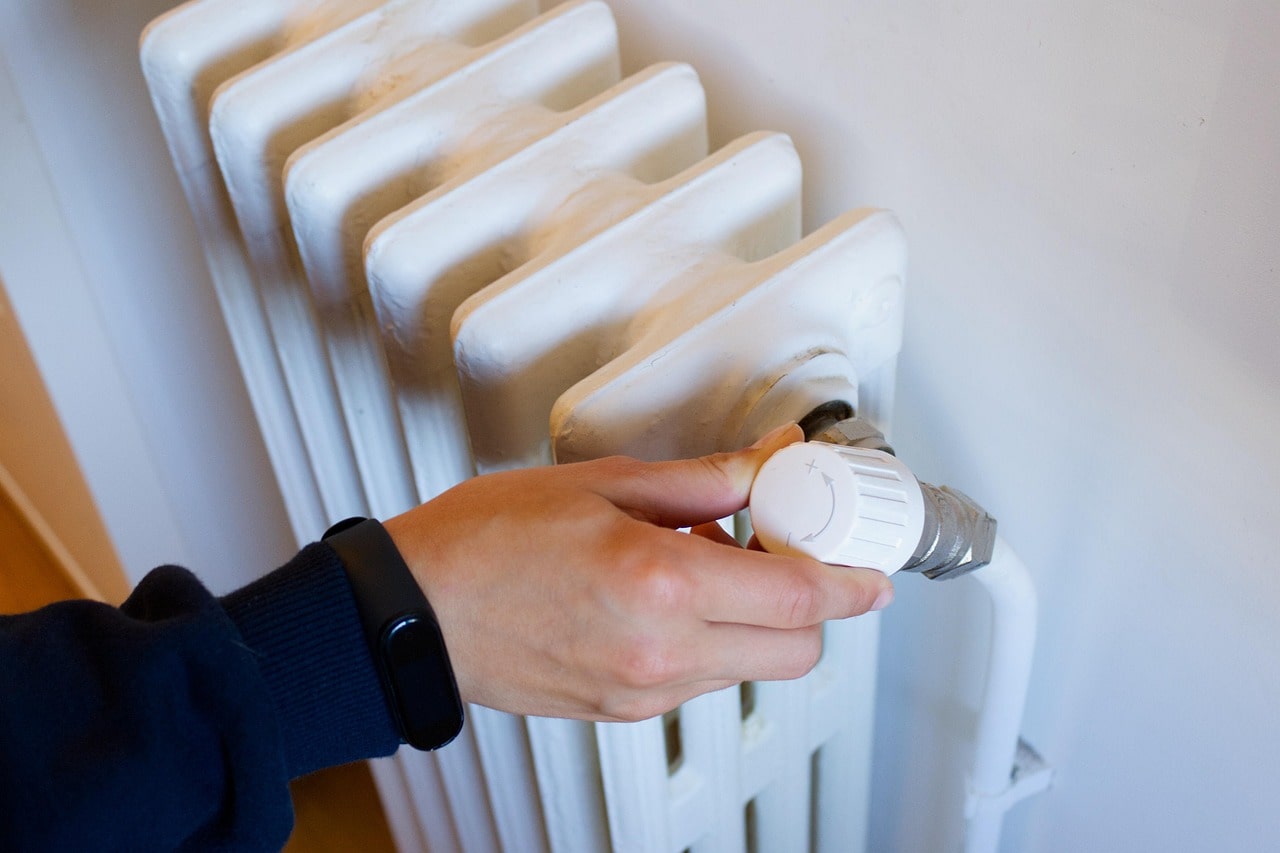
Common thermostat repair issues in Rancho Cucamonga
- Blank or flickering display: Often caused by dead batteries, low voltage from the HVAC transformer, or a failing internal display module.
- Incorrect temperature reading or calibration drift: Thermostat reads a different temp than the room because of sensor failure, poor placement (sunlight, drafts), or internal calibration issues.
- Wiring faults or loose terminals: Corroded, frayed, or incorrectly wired thermostat leads cause intermittent operation, short cycling, or loss of control.
- Stuck controls or unresponsive buttons/touchscreen: Wear, moisture, or software glitches render controls unresponsive.
- Communications errors on smart thermostats: Wi-Fi dropout, firmware issues, or incompatibility with the HVAC control board can interrupt remote control and scheduling.
- Relay, transformer, or relay-failure symptoms: HVAC not receiving a signal even when thermostat shows correct settings; often traced to low-voltage system components.
- Sensor or sub-base problems with multi-stage systems: Multi-zone or multi-stage systems rely on accurate sensors and wiring; failures cause staging problems or uneven comfort.
- Pest-related damage: Ants or spiders occasionally nest in thermostat cavities in Southern California, causing shorts and erratic behavior.
Diagnostic process — what to expect
Technicians follow a methodical diagnostic flow to isolate the cause and recommend a repair:
- Visual inspection: Check thermostat placement, cleanliness, battery compartment, and visible wiring for corrosion or damage.
- Power verification: Confirm thermostat has proper voltage (usually 24V AC for most systems). Check HVAC breaker, furnace/air handler switches, and transformer output.
- Battery and display checks: Replace batteries and test display functions to eliminate simple power issues.
- Wiring and terminal tests: Use a multimeter to test continuity and voltage at each terminal; verify color coding and correct connections for your system type (heat pump, conventional, multi-stage).
- Sensor and calibration checks: Compare thermostat temperature to a calibrated thermometer placed nearby; run diagnostic modes to test internal sensors.
- Control signal testing: Activate heating/cooling calls from the thermostat and observe response at the HVAC equipment to determine if signals reach the system.
- Smart thermostat diagnostics: Review firmware, Wi-Fi connectivity, and app errors for cloud or network-related issues.
- Isolate component failure: If signals and wiring are correct but the HVAC does not respond, test relays, contactors, and the transformer at the equipment.
This process allows technicians to recommend either a simple repair or replacement with confidence.
Quick fixes versus parts replacement
Quick fixes homeowners may expect:
- Replacing batteries and rebooting the thermostat
- Tightening loose terminal screws or re-seating wiring
- Moving thermostat away from direct sunlight, vents, or appliances
- Restoring breaker power or resetting the furnace/air handler switch
- Cleaning the thermostat housing and removing dust/insects
Situations that usually require parts replacement:
- Failed internal display modules or touchscreens
- Burned or corroded wiring that cannot be safely reused
- Faulty thermostat circuitry or sensor assemblies
- Incompatible or obsolete thermostat that cannot support your HVAC system features
- Transformer or relay replacement at the HVAC unit when low-voltage hardware has failed
Typical repair timeline
Most thermostat diagnostics and minor repairs are completed within 30 to 90 minutes. Replacing a thermostat or installing a compatible smart control typically takes 60 to 120 minutes, including configuration and a full operational test. More complex issues involving HVAC control board repairs or multi-zone sensor replacement may require additional time for parts and system testing.
Troubleshooting tips you can try now
- Check and replace batteries in the thermostat first; many display and responsiveness issues are resolved this way.
- Verify the HVAC breaker and system power switch are on; a tripped breaker can make a healthy thermostat appear dead.
- Gently remove the thermostat cover and inspect wires for loose screws, corrosion, or insect activity.
- Compare the thermostat temperature with a separate thermometer placed at the same height and away from direct sunlight. If the readings differ significantly, move the thermostat or correct calibration.
- If you have a smart thermostat, power-cycle your home router and the thermostat to rule out temporary connectivity issues.
- Avoid attempting complex wiring changes unless you are comfortable; low-voltage systems can be tested safely but wiring mistakes can damage components.
Maintenance to prevent future failures
- Replace thermostat batteries annually, preferably before summer and winter high-use seasons.
- Keep the area around the thermostat free of dust, direct sunlight, and obstructions that can affect readings.
- Schedule a seasonal HVAC tune-up to catch low-voltage or control issues before they cause thermostat failures—Rancho Cucamonga’s heavy AC usage in summer makes this especially important.
- For Wi-Fi thermostats, keep firmware updated and ensure a stable home network to prevent communication errors.
- If insect activity is noticed near wall plates or attic penetrations, address pest control to avoid future electrical shorts.
- Consider relocating thermostats away from external walls, windows, or heat-producing appliances when installation conditions allow.
Why timely thermostat repair matters in Rancho Cucamonga
Prompt thermostat repair restores reliable comfort, prevents unnecessary HVAC wear from short cycling or prolonged runtimes, and preserves energy efficiency during long cooling seasons. In Rancho Cucamonga, where summers are hot and households depend on consistent AC performance, a correctly functioning thermostat protects indoor comfort and can prevent emergency breakdowns during heat waves. Regular maintenance and quick attention to symptoms such as blank displays, erratic cycling, or poor temperature control will keep your HVAC system running smoothly and accurately.
Thermostat Repair in Rancho Cucamonga, CA focuses on diagnosing the root cause, recommending the right fix—whether a simple adjustment or a replacement—and ensuring your thermostat integrates properly with your HVAC system for reliable comfort and efficiency.
Customer
Testimonials
Our customers consistently praise the exceptional service and professionalism of our team. They appreciate the honest advice, meticulous work, and the care taken to ensure their satisfaction.

.webp)
Service Areas
