
Thermostat Installation in Ontario, CA

Thermostat installation in Ontario, CA enhances home comfort and energy efficiency by upgrading to programmable or smart thermostats and ensuring compatibility with existing HVAC systems. The guide outlines choosing the right type, addressing common issues like missing C-wires and incorrect labeling, and verifying 24V control compatibility. It details the installation process, including pre-install checks, wiring, mounting, and initial testing, followed by setup tasks, warranty considerations, and recommended seasonal maintenance to maximize performance and longevity in Ontario climates.
Thermostat Installation in Ontario, CA
Thermostat installation in Ontario, CA is a targeted upgrade that improves home comfort, reduces cooling costs during hot summers, and modernizes control of your HVAC system. Whether you have an older non-programmable dial, a mid-range programmable unit, or want a smart thermostat that learns your routine and integrates with home automation, the right installation ensures reliable performance and long-term energy savings. This page explains the types of thermostats, common local compatibility issues, the installation and wiring checks technicians perform, setup and basic configuration, warranty and aftercare considerations, and realistic timelines so you know what to expect.
Why upgrade your thermostat in Ontario, CA
Ontario experiences warm summers and frequent use of air conditioning. Key reasons to consider professional thermostat installation here include:
- Lower cooling costs through precise scheduling and smarter temperature control during peak heat.
- Improved comfort with better temperature sensing and multi-zone coordination.
- Compatibility with newer HVAC systems, especially if you’re replacing an old analog thermostat.
- Remote control and monitoring for homes that are empty during the day or monitored for rental use.
Types of thermostats and which fits Ontario homes
Understanding the main thermostat types helps you choose what fits your lifestyle and system.
- Non-programmable (manual) thermostats
- Simple operation; good for short-term budgets.
- Lacks scheduling or remote control; not ideal for heavy AC use in Ontario’s summers.
- Programmable thermostats
- Set daily or weekly schedules to reduce run time during work hours.
- Useful for predictable routines and consistent savings on cooling.
- Smart thermostats
- Wi-Fi connectivity, app control, learning algorithms, geofencing and energy reports.
- Best for homeowners who want remote adjustments, integration with voice assistants, or advanced energy tracking during peak summer months.
- Some models offer adaptive cooling to reduce runtime during high outdoor temperatures.
Common thermostat installation issues in Ontario, CA
Locally common problems technicians encounter include:
- Missing or weak C-wire: Many older homes lack a dedicated common wire needed for most smart thermostats.
- Incorrect wiring labels from previous DIY installs or system changes.
- Poor thermostat placement: Units installed in direct sunlight, near kitchens, or on exterior walls give false readings—especially problematic during hot afternoons.
- Compatibility with heat pumps or multi-stage systems: Ontario homes with heat pumps or multi-stage air conditioning require compatible control logic and correct wiring.
- Aging HVAC system controls that are not compatible with modern smart functions without an adapter or interface.
System compatibility and thermostat selection guidance
Before installation, a professional will verify system type and wiring to recommend suitable thermostats:
- Identify HVAC system: single-stage vs multi-stage, conventional furnace/AC vs heat pump, or mini-split systems.
- Check for a 24V control system (common in residential HVAC); many thermostats operate on this standard.
- Inspect the thermostat wiring bundle for a C-wire. If absent, options include:
- Using the HVAC’s common terminal if available.
- Installing a C-wire adapter or using a power extender kit.
- Running a new conductor if feasible.
- Confirm compatibility with zone systems, multiple stages, or integrated humidifiers/dehumidifiers.
Selecting the right thermostat in Ontario should balance features (remote access, scheduling, learning), compatibility (wiring and HVAC type), and placement to avoid false reads from heat gains during sunny afternoons.
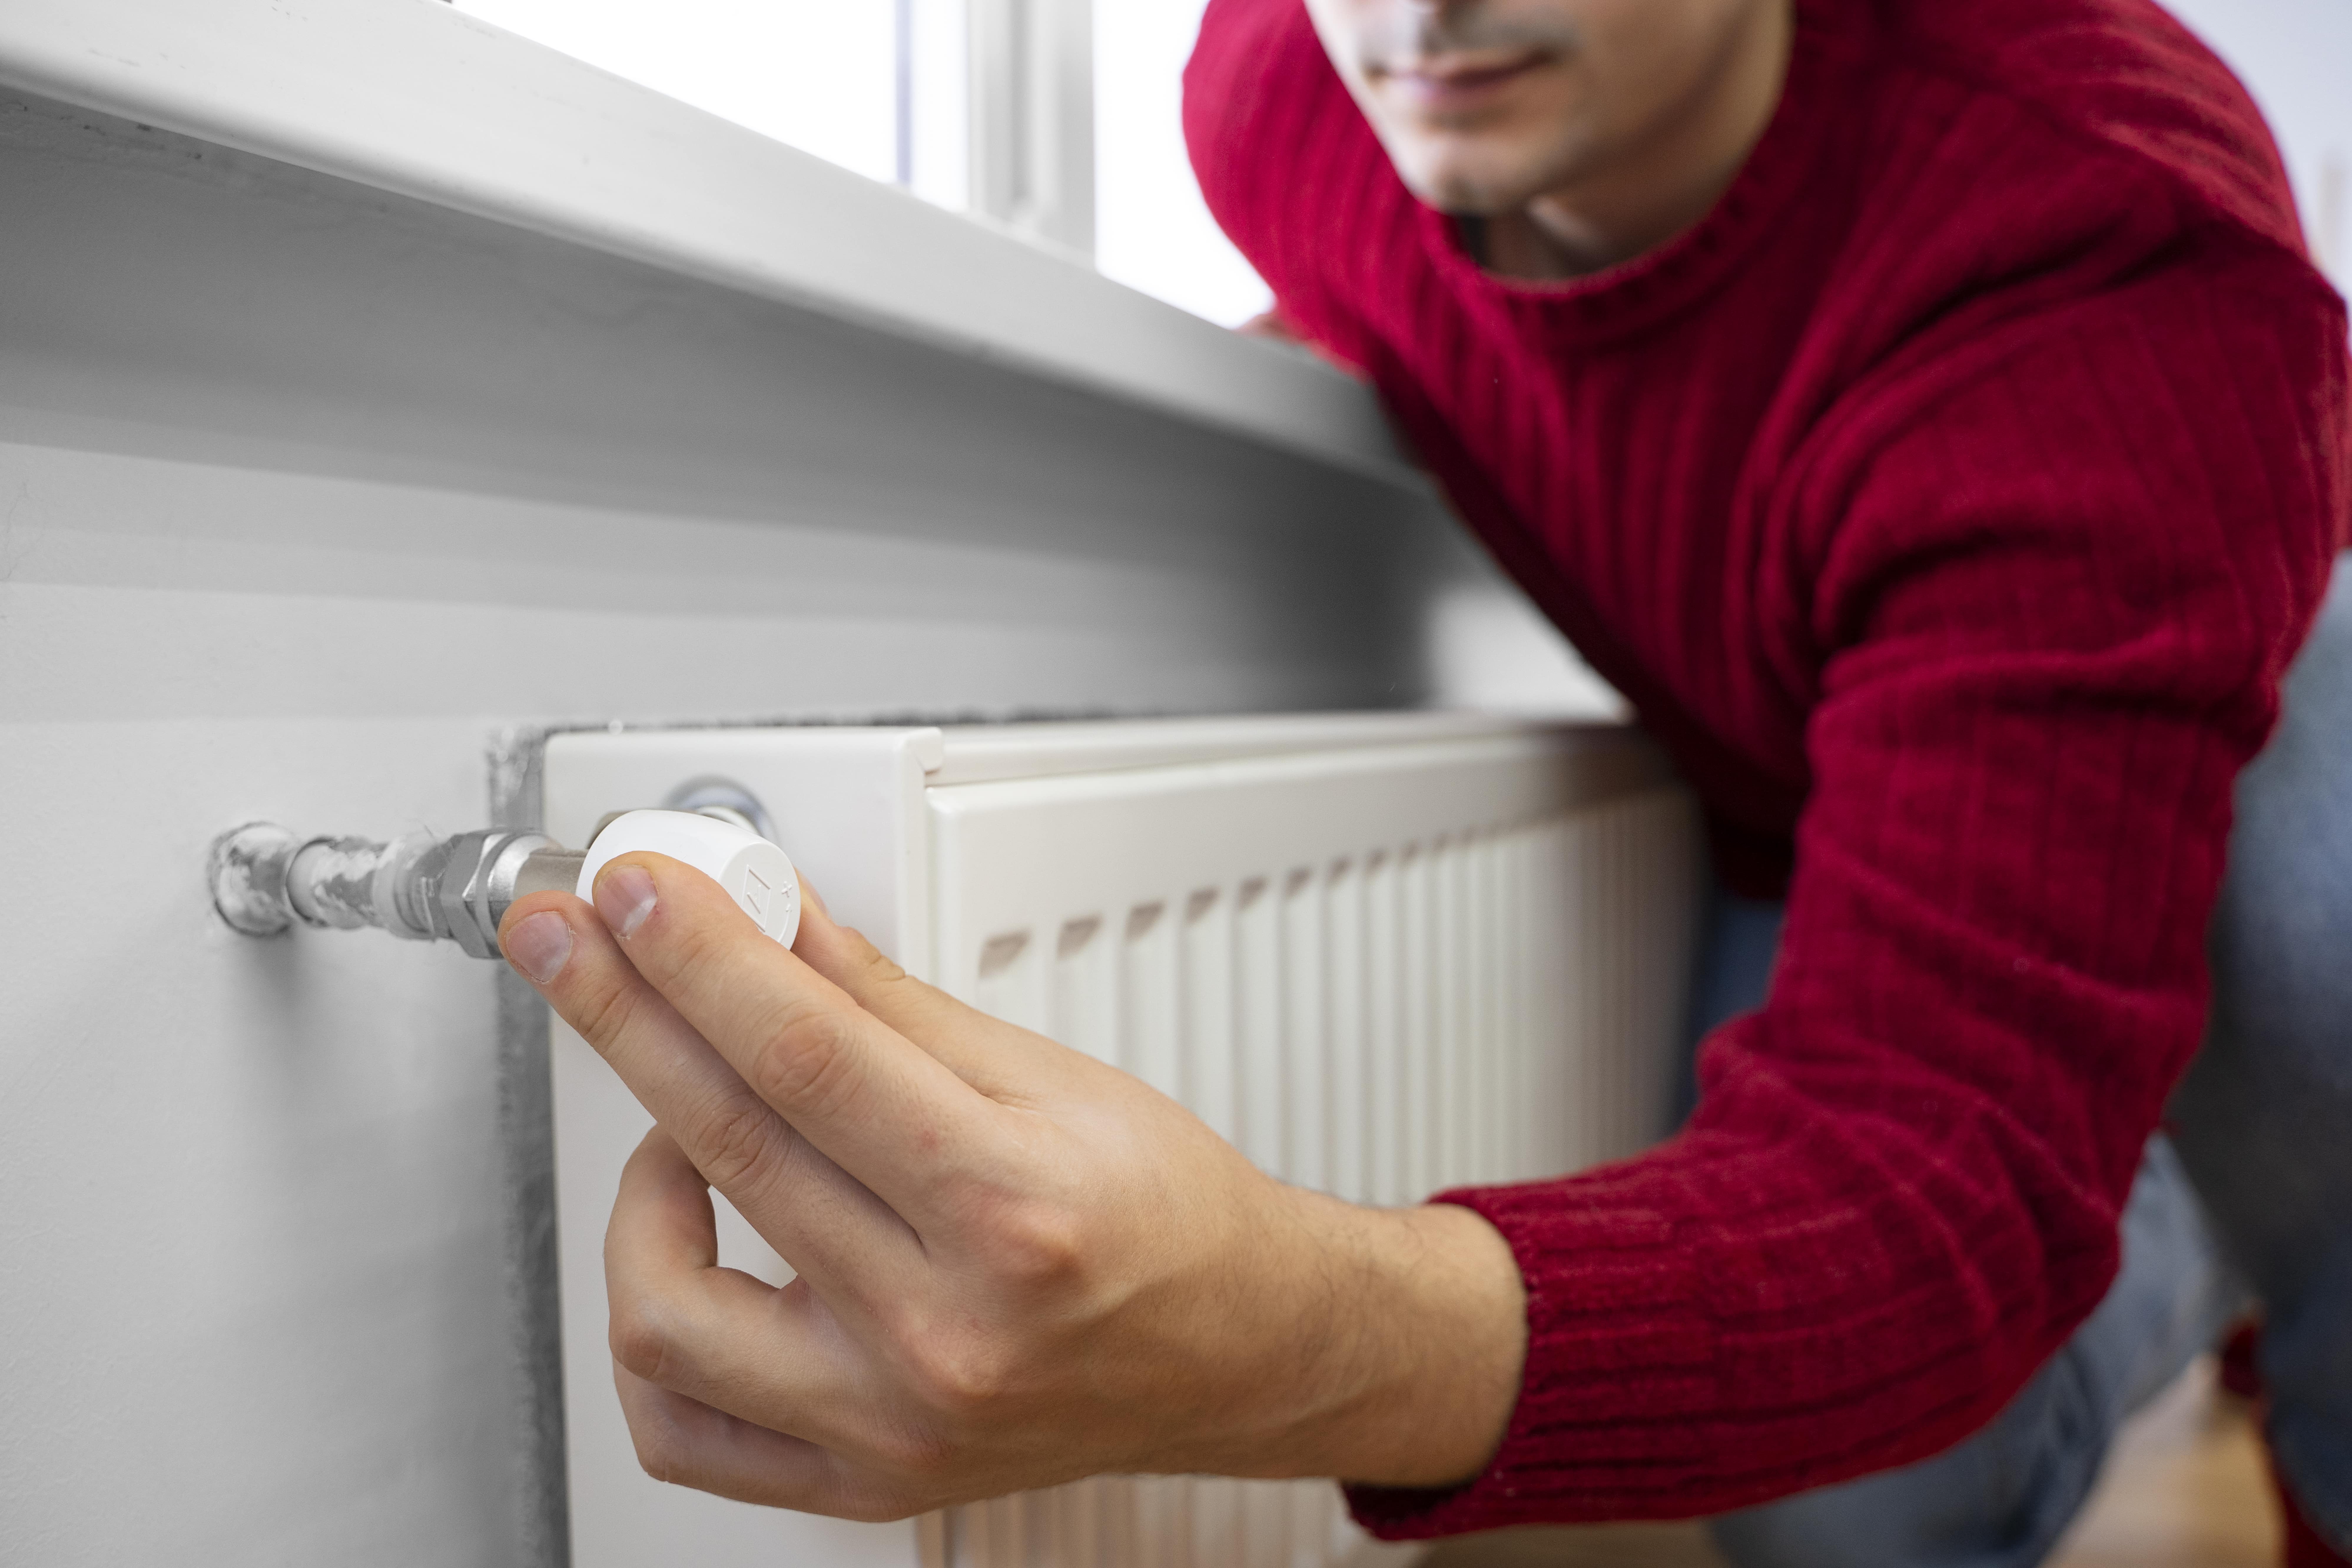
Installation process and wiring checks
Professional thermostat installation typically follows these steps:
- Pre-installation inspection
- Turn off HVAC power.
- Open the existing thermostat to document and photograph wire labels and connections.
- Verify system voltage and wire colors, and test for a C-wire.
- Wiring and wall preparation
- Label and safely disconnect wires.
- Mount backplate and route wires through a tidy opening; patch if needed.
- If a C-wire is missing, install an adapter, run a new conductor, or use a power extender kit per compatibility.
- Electrical checks
- Confirm correct terminal connections (R, Rc, Rh, C, Y, W, G, O/B, Aux/E) for your system type.
- Test control signals to the HVAC to verify response.
- Mounting and sealing
- Level and secure the thermostat to the wall.
- Seal any wall gaps to prevent drafts that could affect sensor readings.
- Power restoration and initial test
- Restore power and run through system commands (heat, cool, fan) to ensure proper control and stage sequencing.
Setup and basic configuration
After physical installation, configuration ensures the thermostat works optimally for Ontario conditions:
- Network connection: Connect to home Wi-Fi and set secure credentials.
- Basic scheduling: Program temperature setbacks for daytime and cooler nights to reduce peak cooling.
- Location settings: Set geofencing or occupancy schedules to avoid unnecessary runtime.
- Integration: Link to smart home platforms or voice assistants if desired.
- Sensor placement: If adding remote sensors, place them in representative rooms away from direct sun, kitchens, or exterior walls.
- Calibration check: Verify the thermostat reading against a known thermometer to ensure accurate control.
Warranty, aftercare, and maintenance
- Manufacturer warranty: New thermostats typically include a manufacturer warranty; register units per the instructions to keep it active.
- Installation warranty: Ask about any workmanship guarantee for wiring and mounting (covered by installer if offered).
- Firmware updates: Smart thermostats receive over-the-air updates; check periodically to ensure they have the latest features and security patches.
- Seasonal checks: Pair thermostat checks with seasonal HVAC maintenance—clean filters, inspect ductwork, and test sensors.
- Battery care: For models with backup batteries, replace annually or when low-battery alerts occur.
Estimated timelines
Typical installation durations vary with complexity:
- Simple replacement (like-for-like non-programmable to programmable): about 30–60 minutes.
- Smart thermostat replacement with C-wire adapter or basic wiring work: 45–90 minutes.
- Complex installs (multi-stage systems, heat pumps, running new wiring, zone integration): 1–3 hours or more depending on access and wiring needs.
Long-term benefits and maintenance tips
- Properly installed thermostats offer more consistent comfort, reduced cooling costs during Ontario summers, and better control of multi-stage or zoned systems.
- To maintain performance:
- Keep the thermostat away from direct sunlight and heat sources.
- Ensure firmware is up to date for smart models.
- Schedule seasonal HVAC tune-ups to keep control signals and sensors accurate.
Upgrading or installing a thermostat in Ontario, CA can be a high-impact home improvement for comfort and energy efficiency. Careful system compatibility checks, correct wiring and placement, and proper configuration are the elements that make the difference between a thermostat that merely works and one that optimizes your home’s climate control.
Customer
Testimonials
Our customers consistently praise the exceptional service and professionalism of our team. They appreciate the honest advice, meticulous work, and the care taken to ensure their satisfaction.

.webp)
Service Areas
